- Grade Level
- High school / senior high school (grades 9/10–12) from 15 to 17/18 years old. Three groups of 4 students.
- High School / College Level / Girls, Women 16 -30 Art, Design, Human tech. Four to five groups of 4 students.
- Subjects
Natural Sciences: material properties.
Technology: coding
Mathematics: Measuring and classifying materials based on conductivity.
- Duration
Session 1: Introduction to the Project and Assembly (1 hour)
Session 2: Programming the Arduino and Assembling the Circuit (1 hour)
Session 3: Final Assembly and Demonstration (1 hour)
- Learning Outcomes
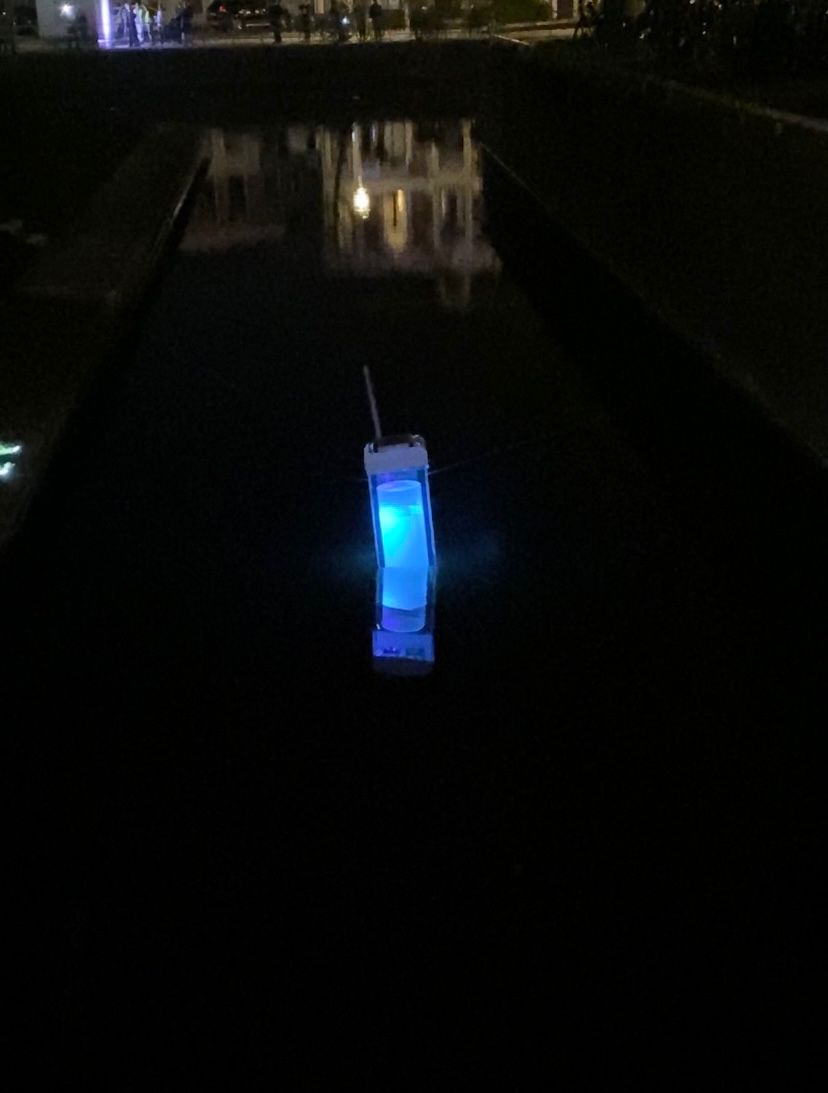
Students will learn to create a floating light project in a bottle using an LED blacklight, solar panel, Arduino, and tonic water. This project combines elements of renewable energy, programming, and chemistry. This interdisciplinary project aims to foster creativity, enhance technical skills, and provide a comprehensive understanding of how different scientific principles can be applied in a fun and engaging way. By the end of this project, students will have a unique, glowing bottle that demonstrates their newfound knowledge and skills.
Introduction for Floating Light Project in a Bottle
In this exciting and innovative project, students will embark on a journey to create a mesmerizing floating light in a bottle. Utilizing an LED blacklight, a solar panel, Battery an Arduino microcontroller, and tonic water, this project not only illuminates but also integrates key elements from various STAEM fields, including renewable energy, programming, and chemistry.
Renewable Energy: By incorporating a solar panel, students will explore the principles of converting sunlight into electrical energy, making the project environmentally friendly and sustainable.
Programming: Using an Arduino microcontroller, students will dive into the basics of programming, learning how to control the LED blacklight and create various lighting effects.
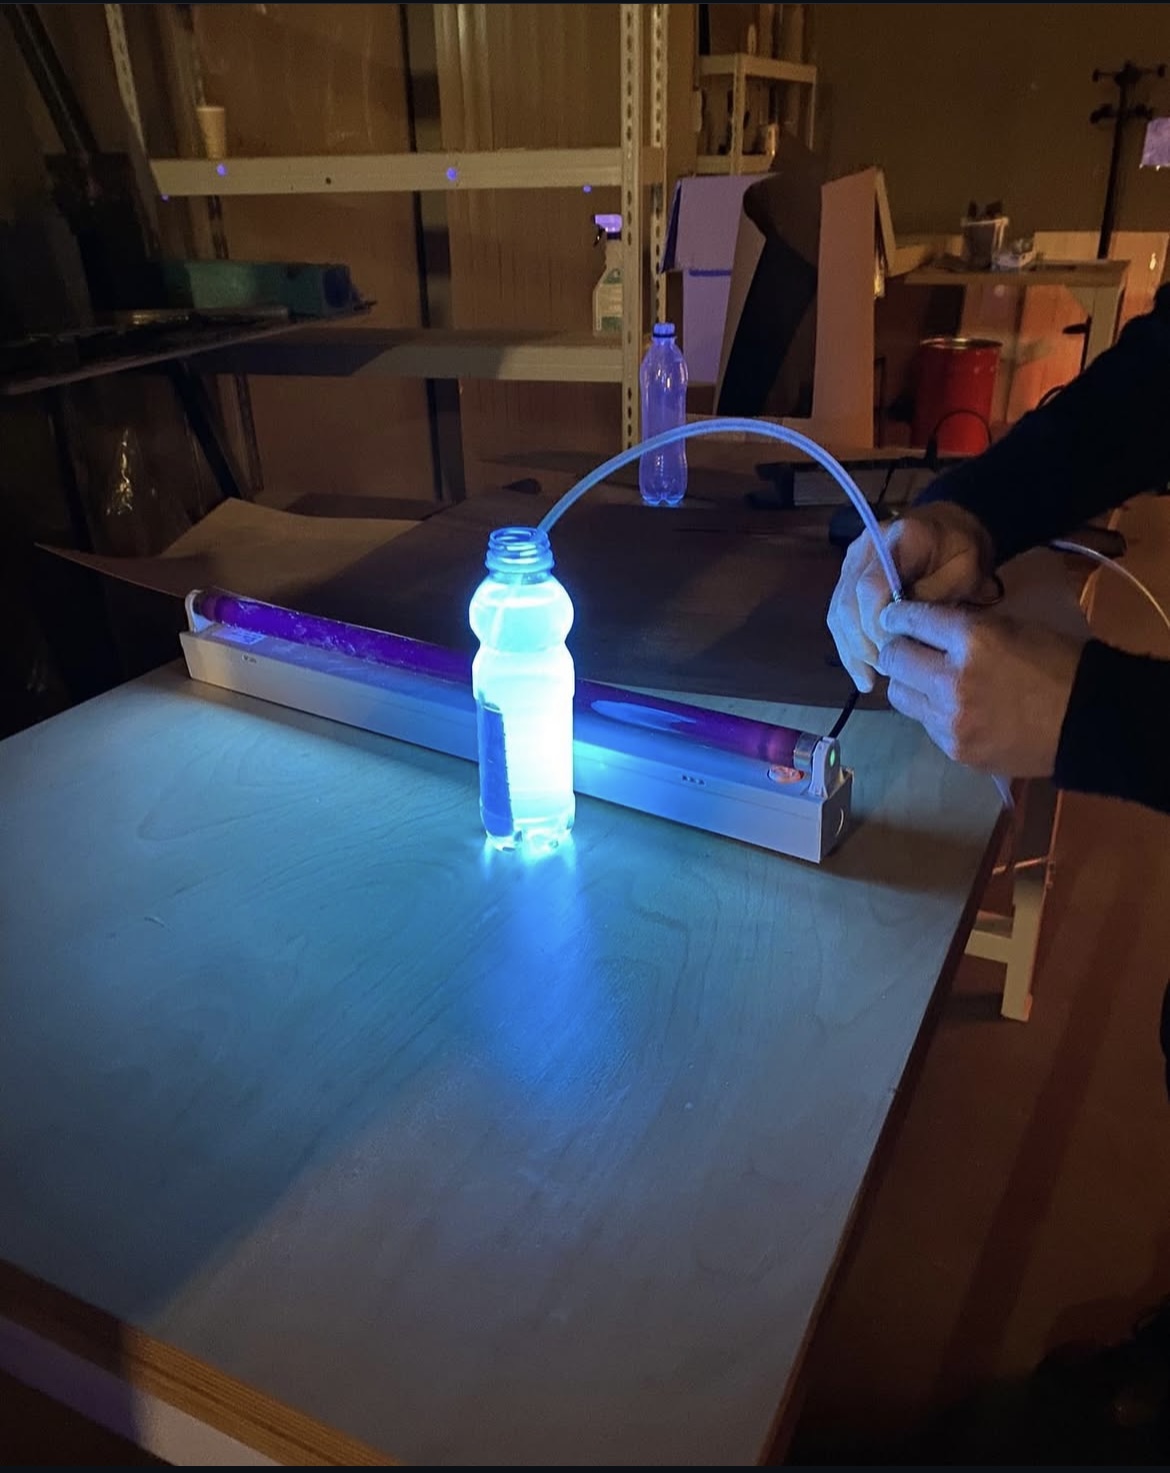
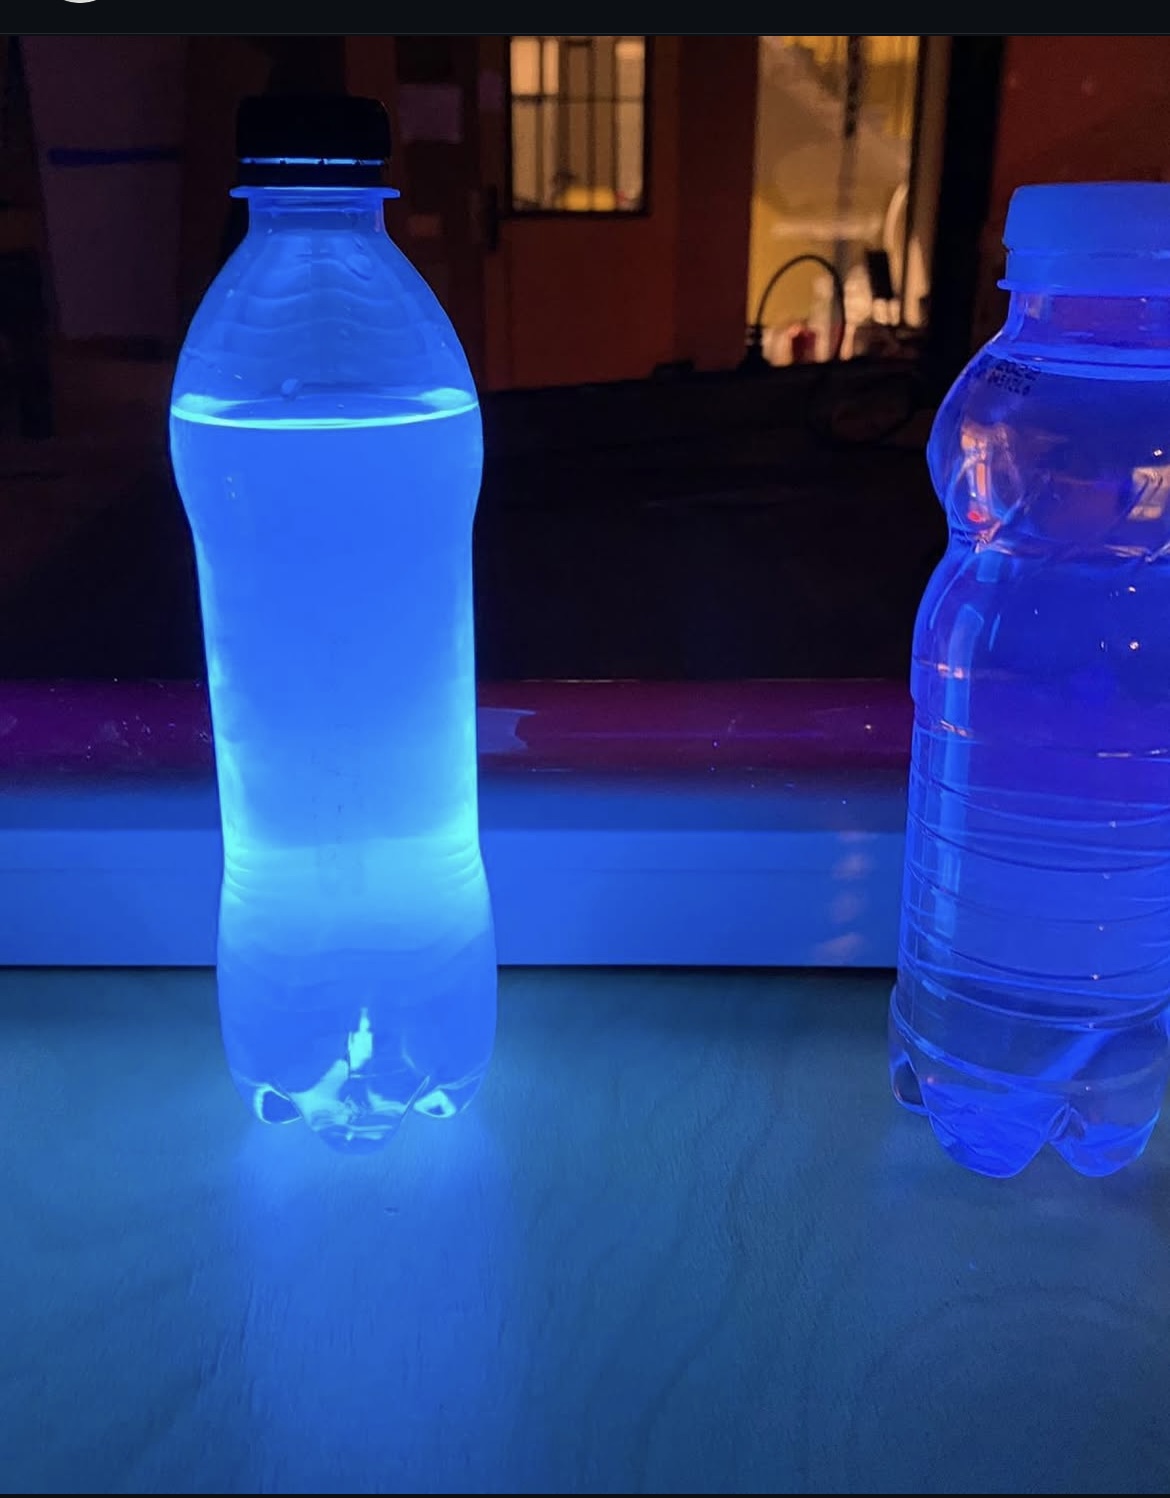
Chemistry: The use of tonic water introduces a fascinating chemical reaction, as the quinine in tonic water fluoresces under blacklight, producing a glowing effect.
- B&T dimensions and types covered
Dimensions
- Dimension 1: self-confidence in science and technology: By building the item from scratch there is great confidence that is gathered.
- Dimension 2: Confidence in technopolitical progress: By combining hand-son actions creative elements and coding the students can build up confidence through small success, and then apply their skills to construct bigger items.
- Dimension 3: Interest in new technology: Students explore and engage with both technical and hands on activities depending on their creative proses.
- Dimension 6: Technology can be learned: This activity shows everyone that technology can be learned, by offering a fun activity that has interesting results.
Types
- Creative makers: Interesting challenge for the creative maker. Engage with the putting together a technical aspect in a creative and technical manner.
- Explorers: This activity provides a safe, guided space to experiment and learn by trial and error. Testing materials for conductivity and discovering how coding and functional elements work together
- Teacher Prerequisite Knowledge
The teacher(s) for this lesson need basic electronics fabrication (i.e. soldering, circuits, breadboard). They also require an understanding of microcontrollers and Arduino coding capabilities or equivalent.
- Materials
- LED blacklight
- Small solar panel
- Battery
- Arduino microcontroller
- Tonic water
- Clear plastic or glass bottle
- Waterproof sealant
- Wires and connectors
- Breadboard
- Resistors
- USB cable for Arduino
- Arduino IDE (installed on computers)
- Basic tools (screwdrivers, wire cutters, soldering iron)
Safety Precaution & tips:
- Beware of electric power
- Lesson Plan
Introduction (15 minutes)
In a room or facilities where you can explain the different step-by-step developments.
Step-by-step development
Session 1: Introduction to the Project and Assembly (1 hour)
Step 1: Introduction (15 minutes)
- Briefly explain the project and its components.
- Discuss the principles of renewable energy using a solar panel.
- Explain the role of Arduino in controlling the LED light.
- Introduce the concept of fluorescence and how tonic water will be used to create a glowing effect.
Step 2: Preparing the Bottle (20 minutes)
- Demonstrate how to clean and prepare the bottle.
- Pour tonic water into the bottle and seal it with a waterproof sealant.
- Test the bottle by shaking it to ensure it is properly sealed and no water leaks.
Step 3: Setting Up the Solar Panel, Battery and Arduino (25 minutes)
- Show how to connect the solar panel to the Arduino.
- Explain the importance of the correct polarity and how to use a multimeter to check connections.
- Connect the solar panel to a breadboard and then to the Arduino.
Session 2: Programming the Arduino and Assembling the Circuit (1 hour)
Step 1: Introduction to Arduino IDE (15 minutes)
- Introduce the Arduino IDE and basic programming concepts.
- Explain how to write and upload a simple program to the Arduino.
Step 2: Writing the Code (30 minutes)
- Provide the code to control the LED blacklight based on solar panel input. (downloads)
- Explain the code step-by-step.
- Assist students in uploading the code to their Arduinos.
Step 3: Connecting the LED and Testing (15 minutes)
- Demonstrate how to connect the LED blacklight to the Arduino using the breadboard and appropriate resistors.
- Test the setup to ensure the LED turns on and off based on the solar panel’s input.
Session 3: Final Assembly and Demonstration (1 hour)
Step 1: Finalizing the Assembly (20 minutes)
- Help students place the LED blacklight inside the bottle or attach it securely to the outside.
- Bottle must be filled 2/3 whit tonic water and must be closed again.
- Ensure all connections are waterproof and secure. (see watertight solution download files)
- All the electronics can be placed in a box with the solar panels on top and filled whit the watertight solution after testing. There can be a floating device like some ping pong balls (min 2) include to hold the system in place.
Step 2: Testing the Project (20 minutes)
- Place the bottle in sunlight or under a strong light source to activate the solar panel.
- Observe the LED blacklight turning on and causing the tonic water to glow.
- Testing the floating abilities of the system by pouring tonic water in or out the bottle.
- Be sure that the solar panel is directed to the sunlight.
- Wrap-up & Reflection
Finish Step 3: Discussion and Wrap-Up (20 minutes)
- Discuss the outcome of the project and any challenges faced during assembly.
- Encourage students to think of improvements or variations they could make to the project.
Explain how the concepts learned can be applied to other projects involving renewable energy and microcontrollers.
- Photo Gallery
- Extension Activities
- Experiment with different bottle shapes and sizes to see how it affects the light diffusion.
- Modify the code to include different lighting patterns or responses to varying light levels.
- Integrate additional sensors, such as a temperature or motion sensor, to create more interactive projects.
- It doesn’t have to be a floating device, as a standalone it works as well in the dark as a shiny blue light. Also works great in icy surroundings.
- Additional Resources
- Licht challenge: Lightshows in cities
- Learning platform with ideas and hardware
- Watertight solution
- References: https://www.arduino.cc/

