- Grade Level
- Middle school / junior high school (grades 5/6/7–8/9) from 11 to 15 years old Group of ca. 6 students.
- High School / College Level / Girls, Women 16 -30 Art, Design, Human tech. Group of ca.10 students.
- Preparation
Safety Precautions & tips:
- Always wear protective gloves and safety goggles when handling hot materials and equipment.
- Ensure proper ventilation in the workspace.
- Supervise the use of the oven and laser cutter at all times.
- The plastic heats up when being laser cut, it is hot and must be taken from the laser cutting area directly after laser cutting, otherwise it might melt back together.
- Subjects
Natural Sciences: material properties.
Technology: Working with vector files and using a laser cuter
Art: Designing a form
Mathematics: Measuring and classifying materials based on conductivity.
- Duration
Duration: 3 hours
- Learning Outcomes
Students will learn how to create unique and eco-friendly earrings by melting plastic bottle caps, pressing them into sheets, and cutting out models using a laser cutter. They will also attach clips to the models to make wearable earrings. In this exercise the aim is to have a fun first interaction with designing a small object and learning about making a vector file and cut out.
Learning objectives: Designing your own ideas and cutting out with a laser cuter, recycling, upcycling, designing, environment tech; heating, laser cutting, melting plastics.
- B&T dimensions and types covered
Dimensions
- Dimension 2: Confidence in technopolitical progress: By combining technical and art elements the students can build up confidence through small success, and then apply their skills to construct bigger items.
- Dimension 3: Interest in new technology: Students explore and engage with both technical and hands on activities depending on their creative proses.
- Dimension 4 – Appreciation and Respect: Understanding and respecting for natural elements like clay being combined with technological knowledge.
Types
- Creative makers: Engage with the designing in a technical manner.
- Explorers: This activity provides a safe, guided space to experiment and learn by trial and error. Testing materials for conductivity and discovering how 3D modeling and 3D clay printing works.
- Teacher Prerequisite Knowledge
The teacher(s) for this lesson must know how to teach students to use a 2D design software like Inkscape or Illustrator. They should also know how to operate a laser and teach laser safety.
- Materials
- Plastic bottle caps (variety of colours)
- Small oven
- Metal press, heat press or other device to melt the caps and form
- Laser cutting machine
- Clips for earrings
- Protective gloves
- Safety goggles
- Heat-resistant mats
- Baking sheets
- Parchment paper
- Sandpaper
- Design templates (for laser cutting)
- Rulers and markers
- Tweezers
- Lesson Plan
In a room with space to design and cut the earrings start with an introduction.
Introduction (15 minutes)
- Welcome students and explain the objective of the lesson.
- Discuss the importance of recycling and how it can be applied in creating jewellery.
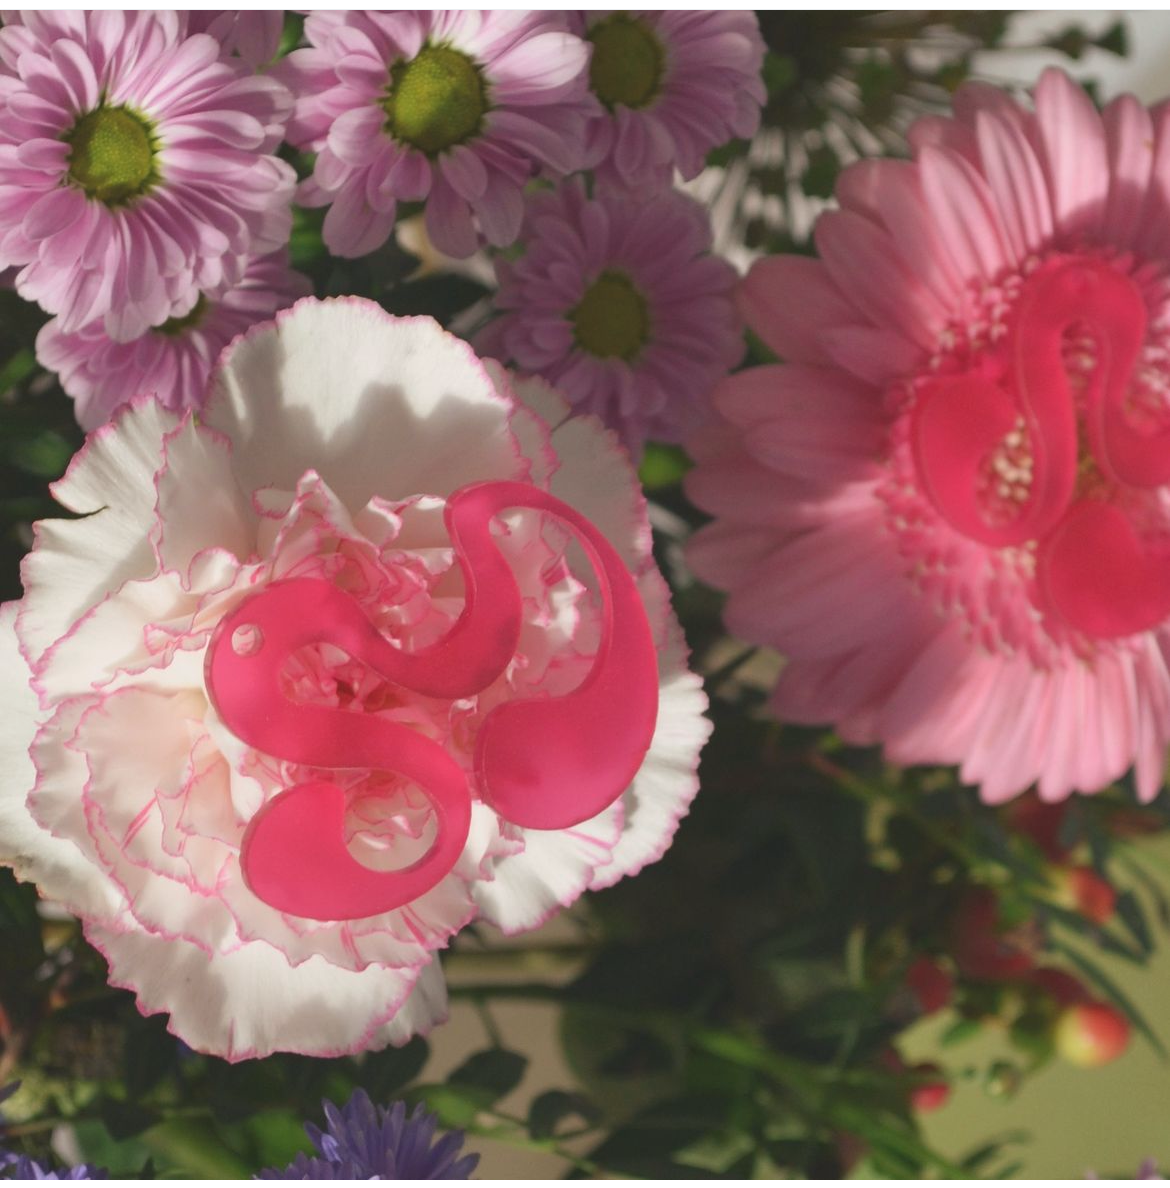
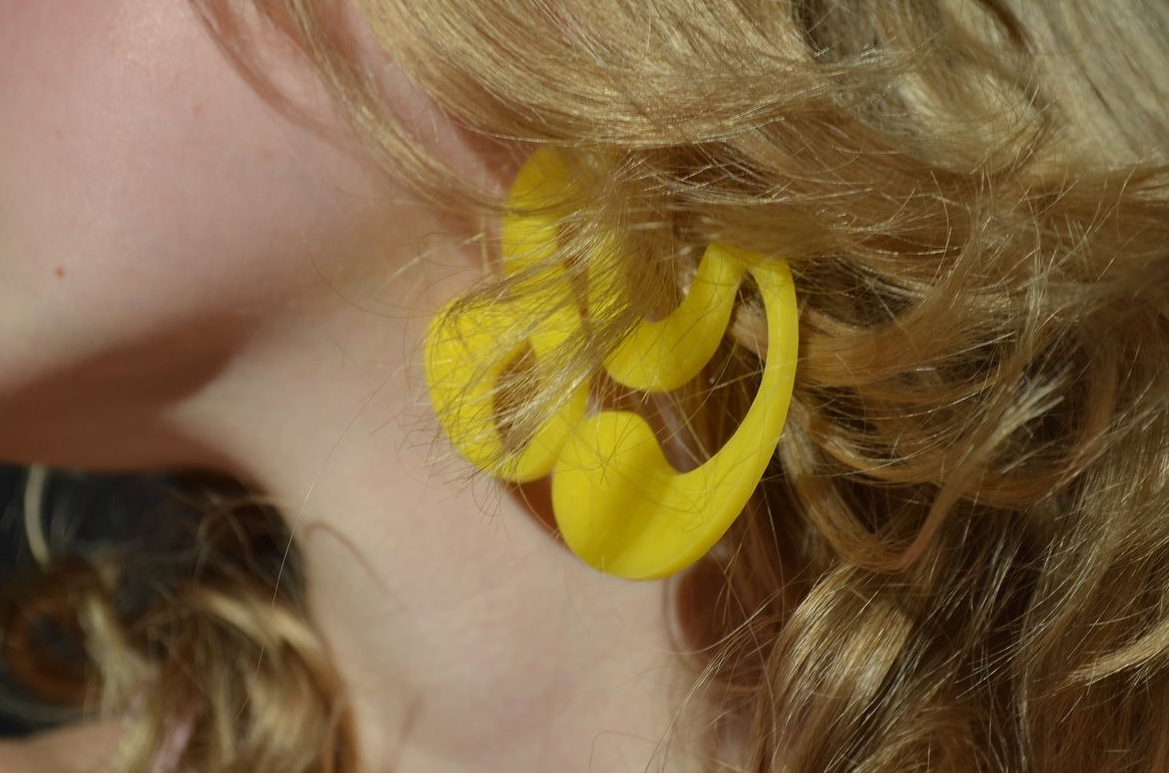
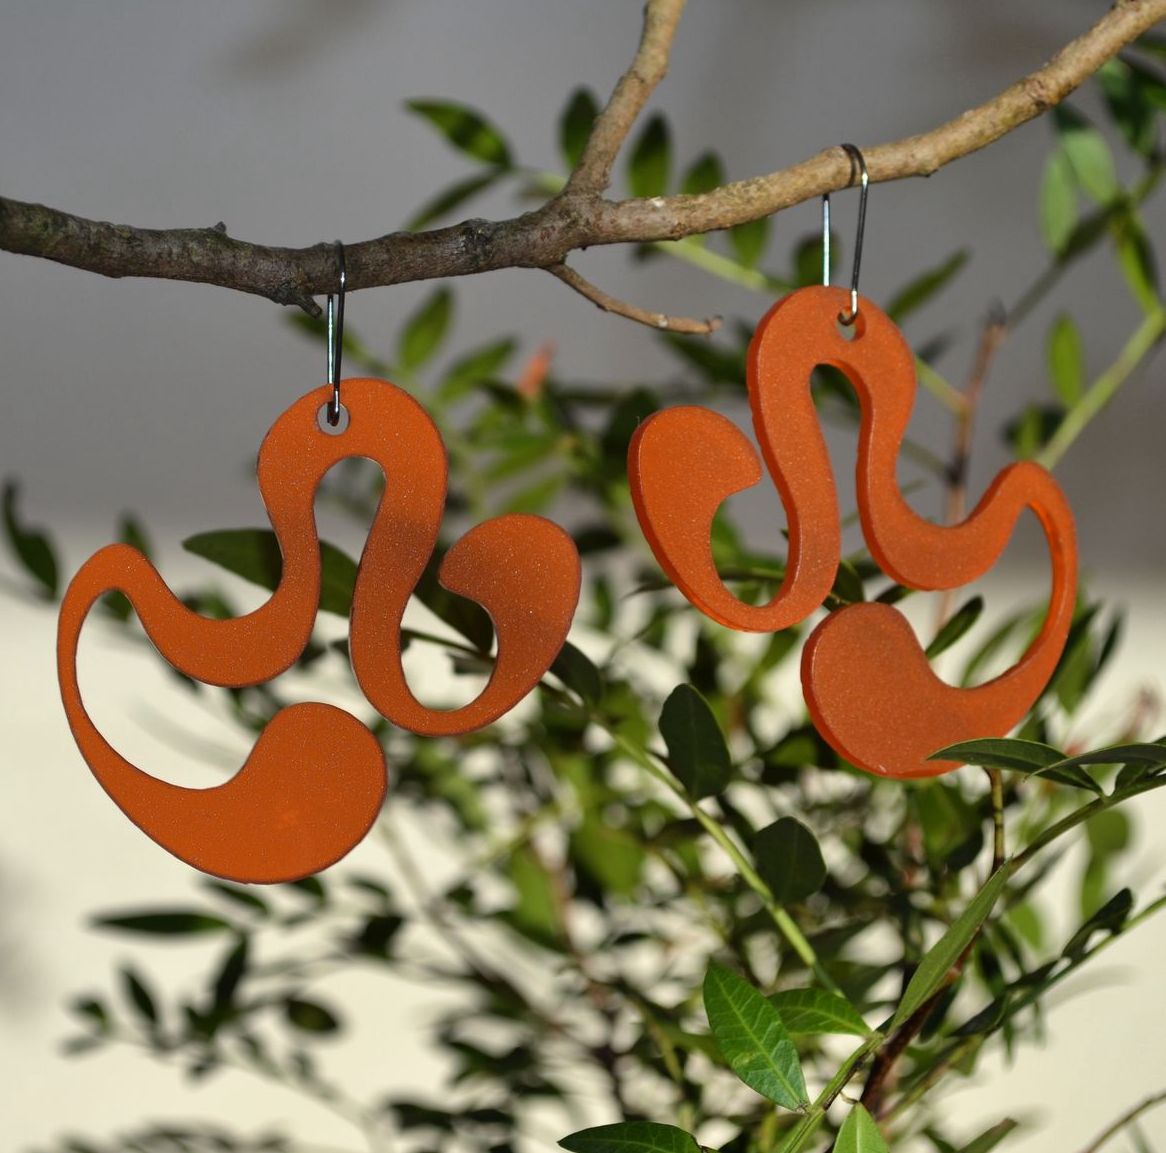
- Show examples of earrings made from recycled plastic.
Step-by-step development
Preparing the Plastic (30 minutes)
- Have students collect plastic bottle caps and sort them by colour.
- Preheat the oven to 175°C (350°F ).
- Place the bottle caps on a baking sheet lined with parchment paper.
- Put the baking sheet in the oven and bake until the plastic is melted (approximately 5-10 minutes).
- Carefully remove the baking sheet from the oven and let the melted plastic cool slightly.
Pressing into Sheets (20 minutes)
- Once the melted plastic is cool enough to handle but still pliable, place it between two sheets of parchment paper.
- Use the metal press or heat press to flatten the plastic into a thin sheet. Ensure even pressure for a uniform thickness.
- Allow the plastic sheet to cool completely.
Alternative using heat press or heat gun to heat up the plastic and press.
- Option 1: Heat a cap with a heat gun and then press with steel spatula other firm objects between baking paper.
- Option 2: use baking paper place it in a heat press and place a plastic cap on the press. Press together open and press with spatula or another firm object.
Designing and Cutting (40 minutes)
- Provide students with design templates for their earrings or allow them to create their own designs.
- Transfer the designs onto the cooled plastic sheets using a marker.
- Use the laser cutting machine to cut out the designs from the plastic sheet.
- Demonstrate the proper and safe use of the laser cutting machine.
Finishing Touches (30 minutes)
- Smooth the edges of the cut-out designs with sandpaper to avoid sharp edges.
- Attach clips to the plastic models using tweezers.
- Ensure the clips are securely attached and the earrings are ready to wear.
Review and Showcase (15 minutes)
- Have students share their finished earrings with the group.
- Discuss the process and any challenges faced.
- Encourage students to think of other ways to recycle materials creatively.
- Wrap-up & Reflection
Cleanup (10 minutes)
- Ensure all materials and tools are properly cleaned and stored.
- Make sure the workspace is tidy.
Conclusion (10 minutes)
- Recap the lesson and highlight the importance of recycling and creativity.
- Encourage students to continue exploring eco-friendly crafts.
- Photo Gallery
- Extension Activities
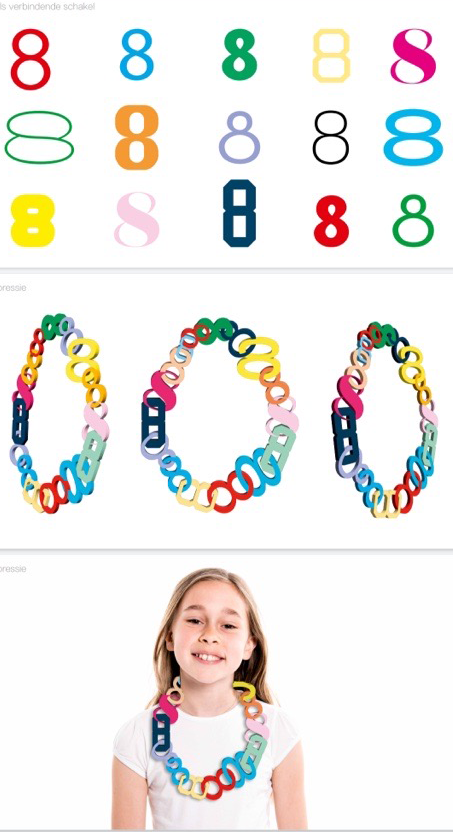
The exercise can be repeated with a greater emphasise on design elements. Using nature for example as an inspiration of form and cutting out in plexi or wood, see additional resources for inspiration.
- Additional Resources
- Studyoni on Instagram: https://hinttadesign.fi/
Additional Notes:
- Adjust the duration of each segment based on the class’s pace and engagement.
- Consider having additional helpers or instructors to assist with the use of the oven and laser cutter for safety.

