- Grade Level
High School / College Level / Girls, Women 16 -30 Art, Design, Human tech. Group of 8 students.
- Duration
Session 1: Introduction to 3D Printing and 3D Design. Duration: 2 hours
Session 2: Designing the Vase. Duration: 2 hours
Session 3: Printing the Vase Duration: 2 hours
- Subjects
Natural Sciences: material properties.
Technology: 3D design and construction.
Art: Modeling with 3D model.
Mathematics: Measuring and classifying materials based on conductivity.
- Preparation
If working the clay is not part of the class it needs to be prepared beforehand.
Making sure all material from material list is ready.
- Learning Outcomes
- Understand the basics of 3D printing and its applications.
- Learn to design a 3D model of a vase using 3D modeling software.
- Gain hands-on experience in setting up and operating a 3D clay printer.
- Successfully print a designed vase using a 3D clay printer.
- Gain valuable insights into the technology, software, and practical skills required to start creating your own 3D printed objects.
- B&T dimensions and types covered
Dimensions
- Dimension 1: self-confidence in science and technology: By combining technical and art elements the students can build up confidence through small success, and then apply their skills to construct bigger items.
- Dimension 3: Interest in new technology: Students explore and engage with both technical and hands on activities depending on their creative proses.
- Dimension 4 – Appreciation and Respect: Understanding and respecting for natural elements like clay being combined with technological knowledge.
Types
- Creative makers: Engage with the designing in a technical manner.
- Explorers: This activity provides a safe, guided space to experiment and learn by trial and error. Testing materials for conductivity and discovering how 3D modeling and 3D clay printing works.
- Teacher Prerequisite Knowledge
The teacher(s) for this lesson must know about ceramic properties and production. They should also have 3d design and printing experience.
- Materials
- Computers with 3D modeling software (e.g., Tinkercad, Blender, or Fusion 360)
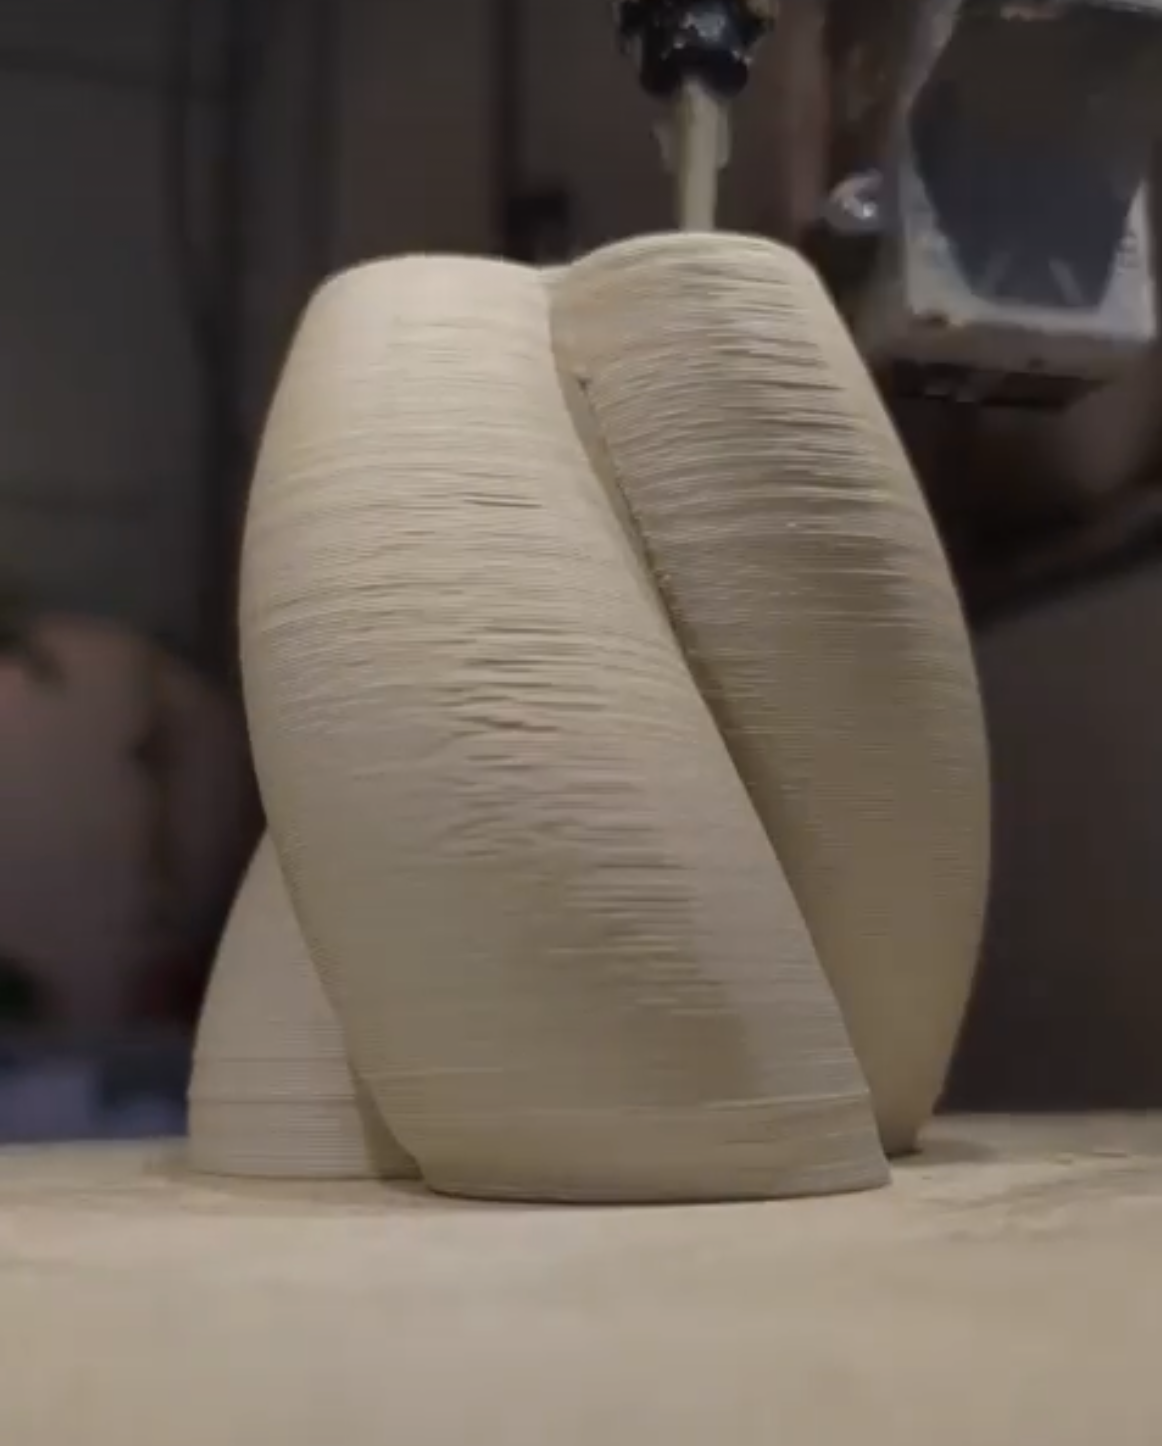
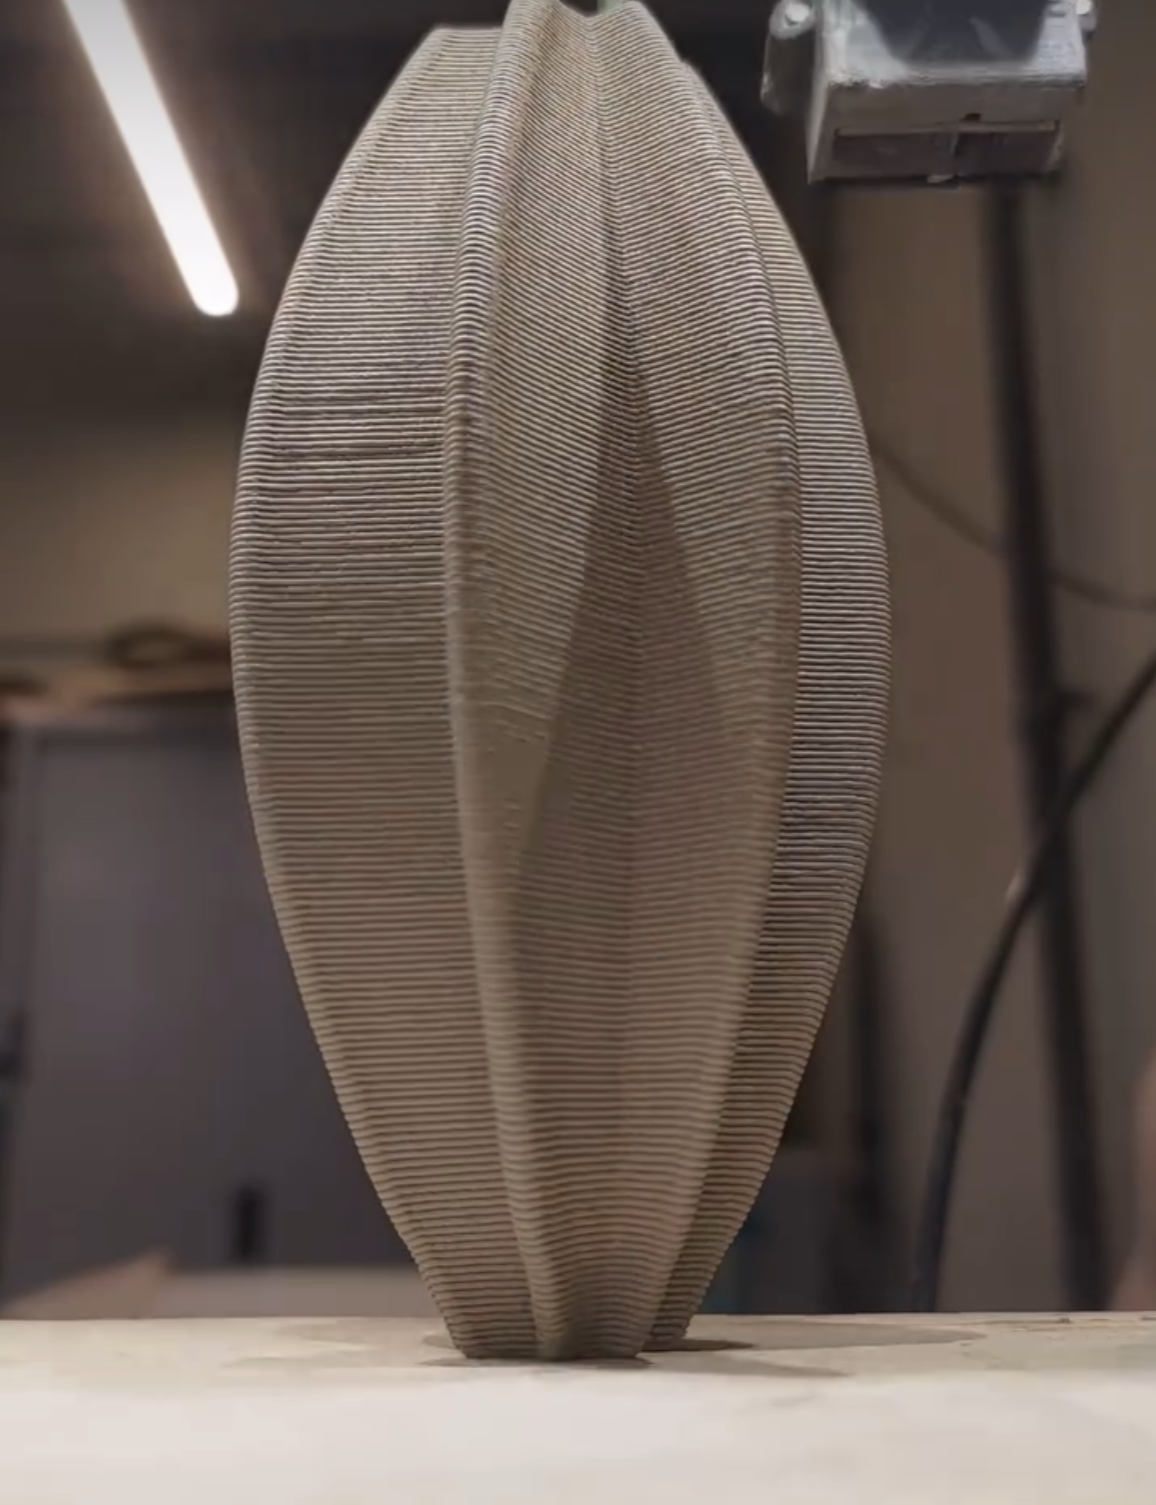
- 3D clay printer ( e.g.,Lutum, Wasp)
- Clay material suitable for 3D printing
- Ceramic incinerator
- USB drives or online file storage for saving designs
- Projector and screen for demonstrations
- Safety gloves and aprons
- Cleaning supplies for the printer
- License not needed
- Lesson Plan
Introduction (10 minutes)
Session 1: Introduction to 3D Printing and 3D Design1. Introduction to 3D Printing (30 minutes)
In the first part of our workshop, we will delve into the essentials of 3D printing technology. You will learn about:
- Overview of 3D printing technology, the fundamental principles of 3D printing.
- Different types of 3D printers, including FDM (Fused Deposition Modeling), SLA (Stereolithography), SLS (Selective Laser Sintering), and Clay Printers.
- The wide-ranging applications of 3D printing across various industries.
- Important safety precautions and maintenance practices to ensure the longevity and safe operation of 3D printers.
Introduction to 3D Modeling Software (30 minutes)
Next, we will explore the tools that enable you to design objects for 3D printing. This segment covers:
- An overview of various 3D modeling software options such as Vectorworks, Tinkercad, Blender, and Fusion 360.
- The basics of 3D design, including creating shapes, extrusion, scaling, and rotating objects within the software.
Step-by-step development
Session 1: Introduction to 3D Printing and 3D Design
- Hands-on Activity: Basic 3D Modeling (60 minutes + printing)
In the final part of the workshop, you will get hands-on experience with 3D modelling. Activities include:
- Creating basic 3D shapes and structures using the software tools introduced.
- Practicing the use of different software features to refine your designs.
- Beginning to brainstorm and sketch ideas for designing a vase, applying the concepts and skills you’ve learned.
By the end of this workshop, you will have a solid understanding of 3D printing technology, be familiar with key 3D modeling software, and have the foundational skills needed to start your own 3D printing projects. We hope this session ignites your creativity and inspires you to explore the limitless possibilities of 3D printing and design.
Homework:
- Watch tutorial videos on 3D modeling for beginners.
- Sketch a few vase designs on paper.
Session 2: Designing the Vase
- Recap and Introduction to Vase Design (20 minutes)
- Review key concepts from the previous session
- Discuss design principles for creating a vase (shape, stability, aesthetics)
- Hands-on Activity: Designing the Vase (90 minutes)
- Step-by-step guide to designing a vase using the chosen software
- Students start designing their vases, implementing their sketched ideas
- Instructor provides individual assistance and feedback to see if the structure would be suitable for the clay printer
- Saving and Exporting Designs (10 minutes)
- How to save and export the 3D model in the correct format (e.g., STL, OBJ)
4. Slicing and Exporting Designs (10 minutes)
- How to save and export the 3D model in the correct format (e.g., G-code using prusa slicer)
Homework:
- Finalize vase design and save the file for printing.
Session 3: Printing the Vase
- Setting Up the 3D Clay Printer (depending on the printer and use, if preparation of the printer is needed recommended time 60 min. If clay is already ready 20 minutes)
- Overview of the 3D clay printer components and setup process
- Loading the clay material
- Calibration and preparation of the printer
- Preparing the Design for Printing (20 minutes)
- Importing the 3D model into the printer software
- Adjusting settings: layer height, print speed, supports, and infill (using Prusa slicer)
- Running a test print (if time permits)
- Printing the Vase (60 minutes)
- Students take turns printing their vases, note: printing can take longer than time then estimated in this lesson plan.
- Observing the printing process and troubleshooting common issues
- Discussing the importance of monitoring the print
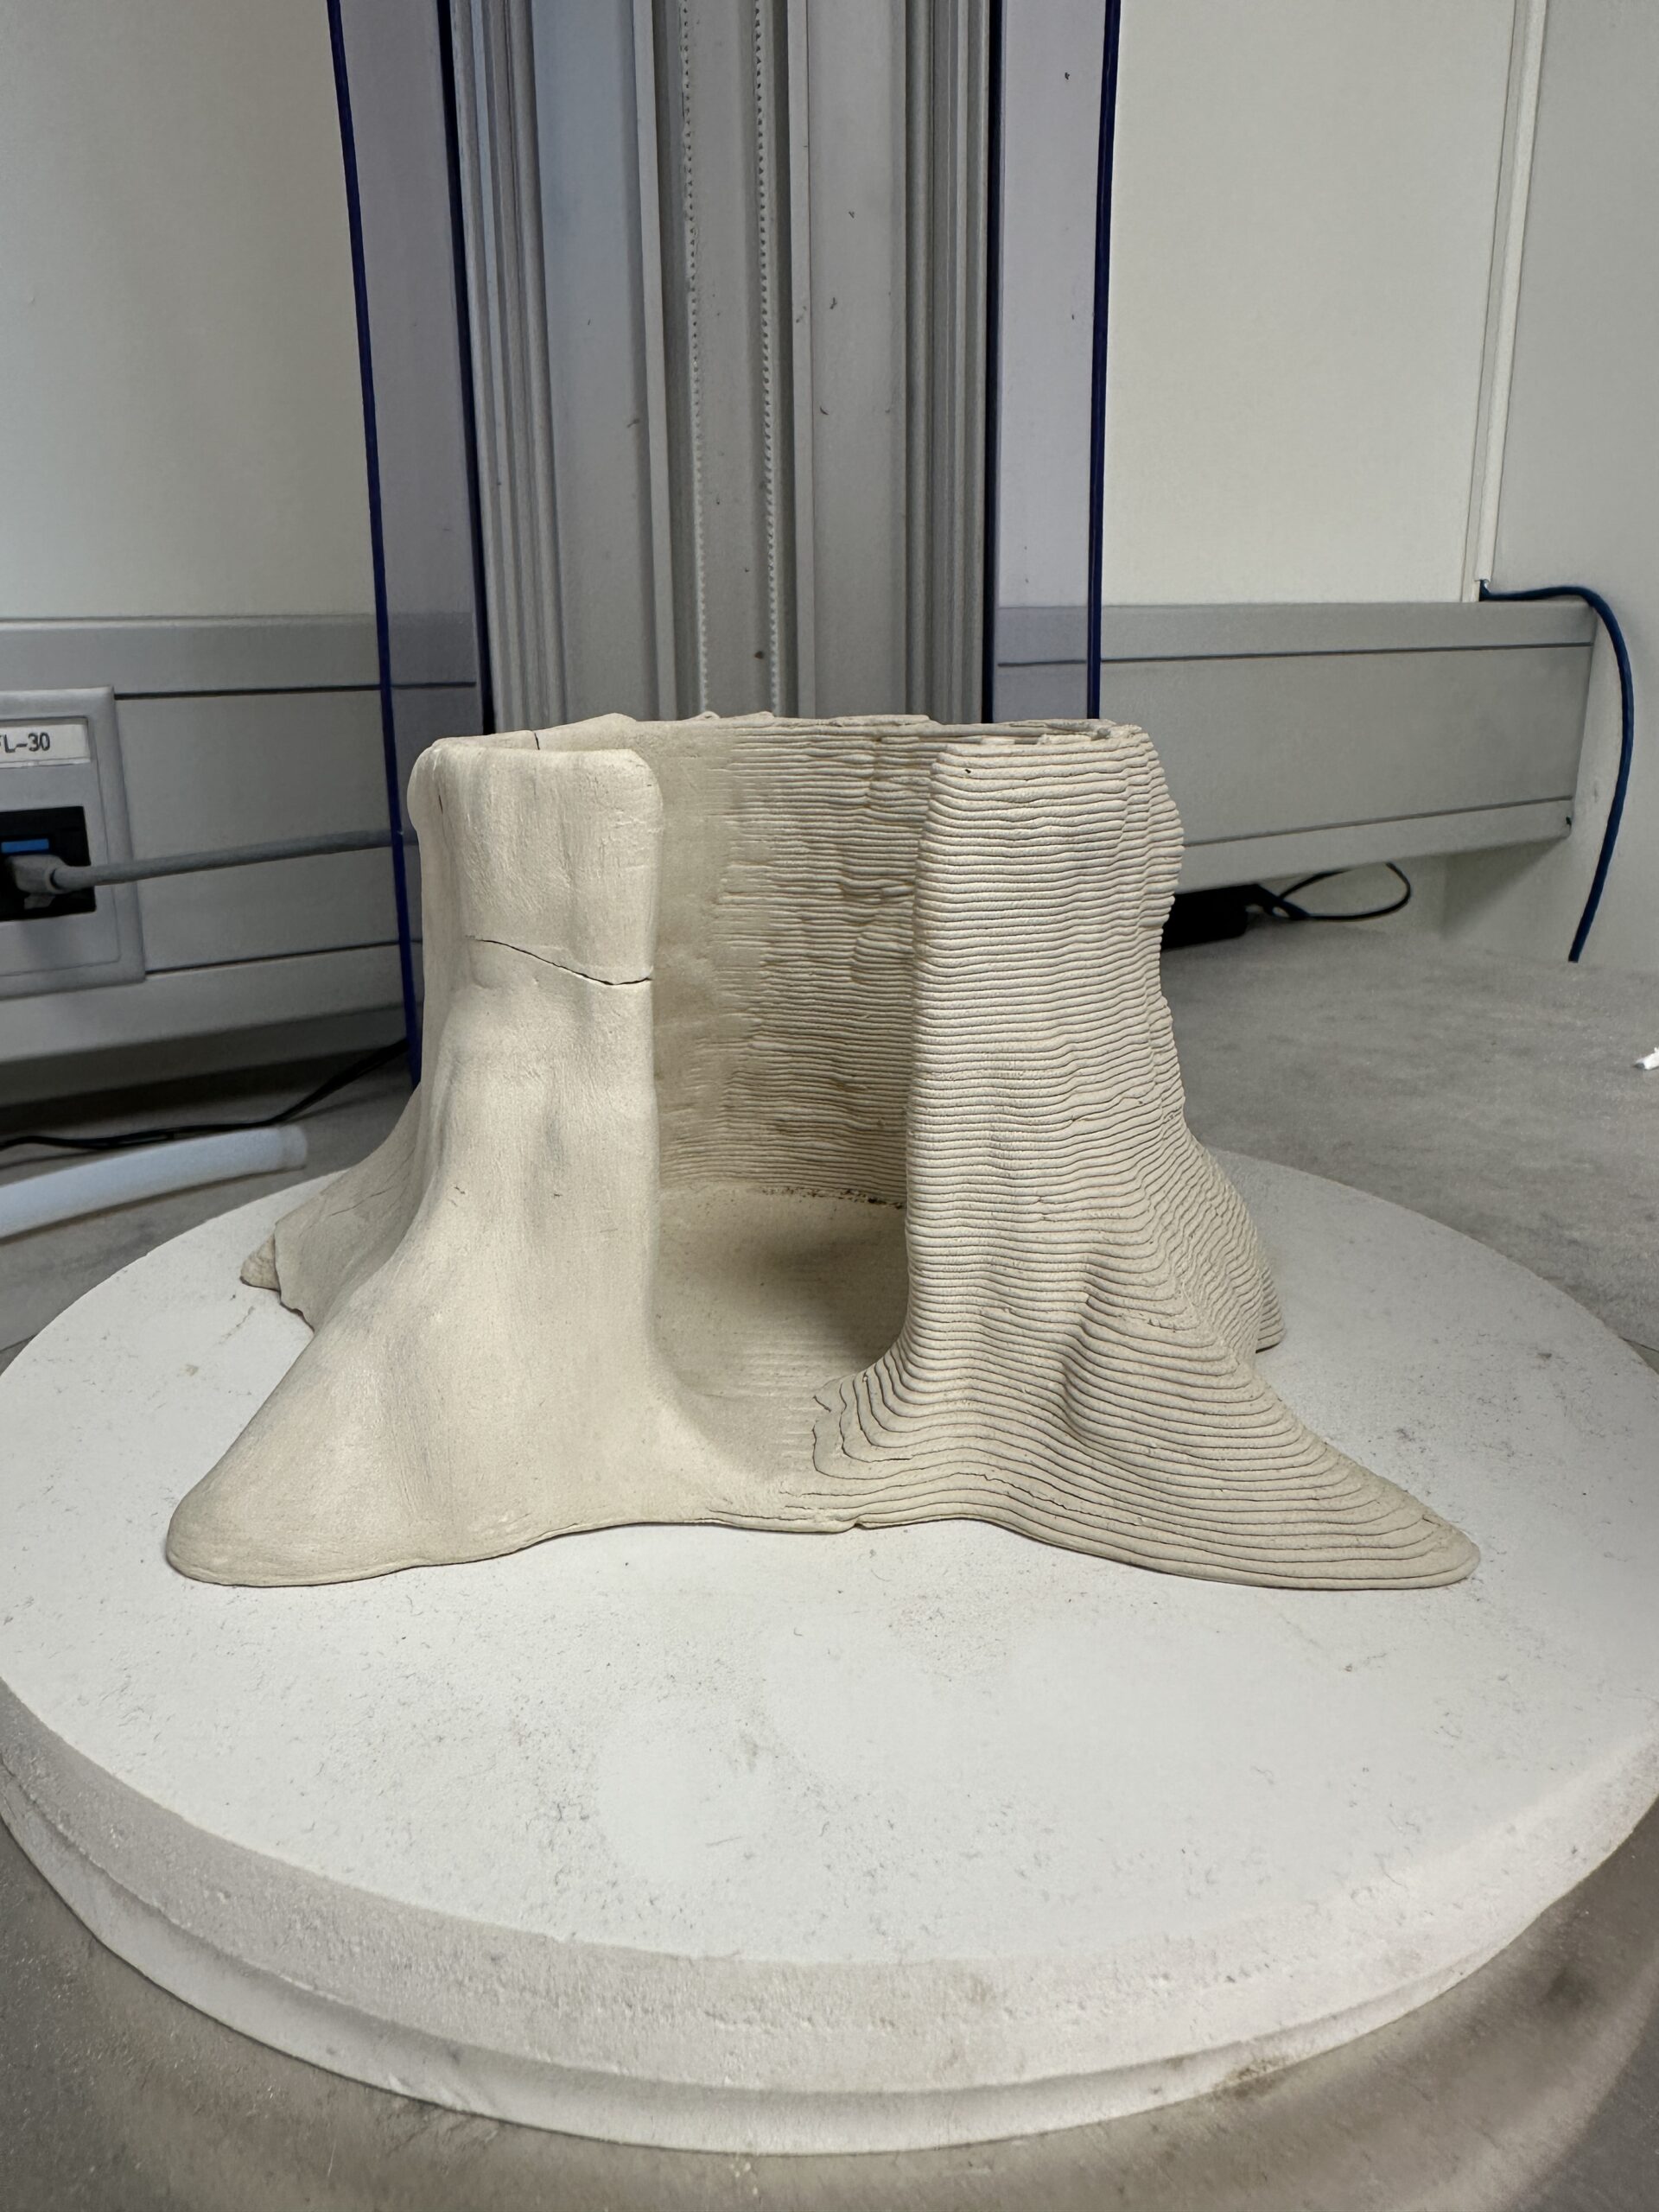
- Post-Processing and Cleanup (20 minutes)
- Removing the printed vase from the printer
- Basic post-processing techniques (e.g., smoothing, trimming)
- Cleaning the printer and workspace
- Assessment
- Participation and Engagement: Active participation in discussions and hands-on activities.
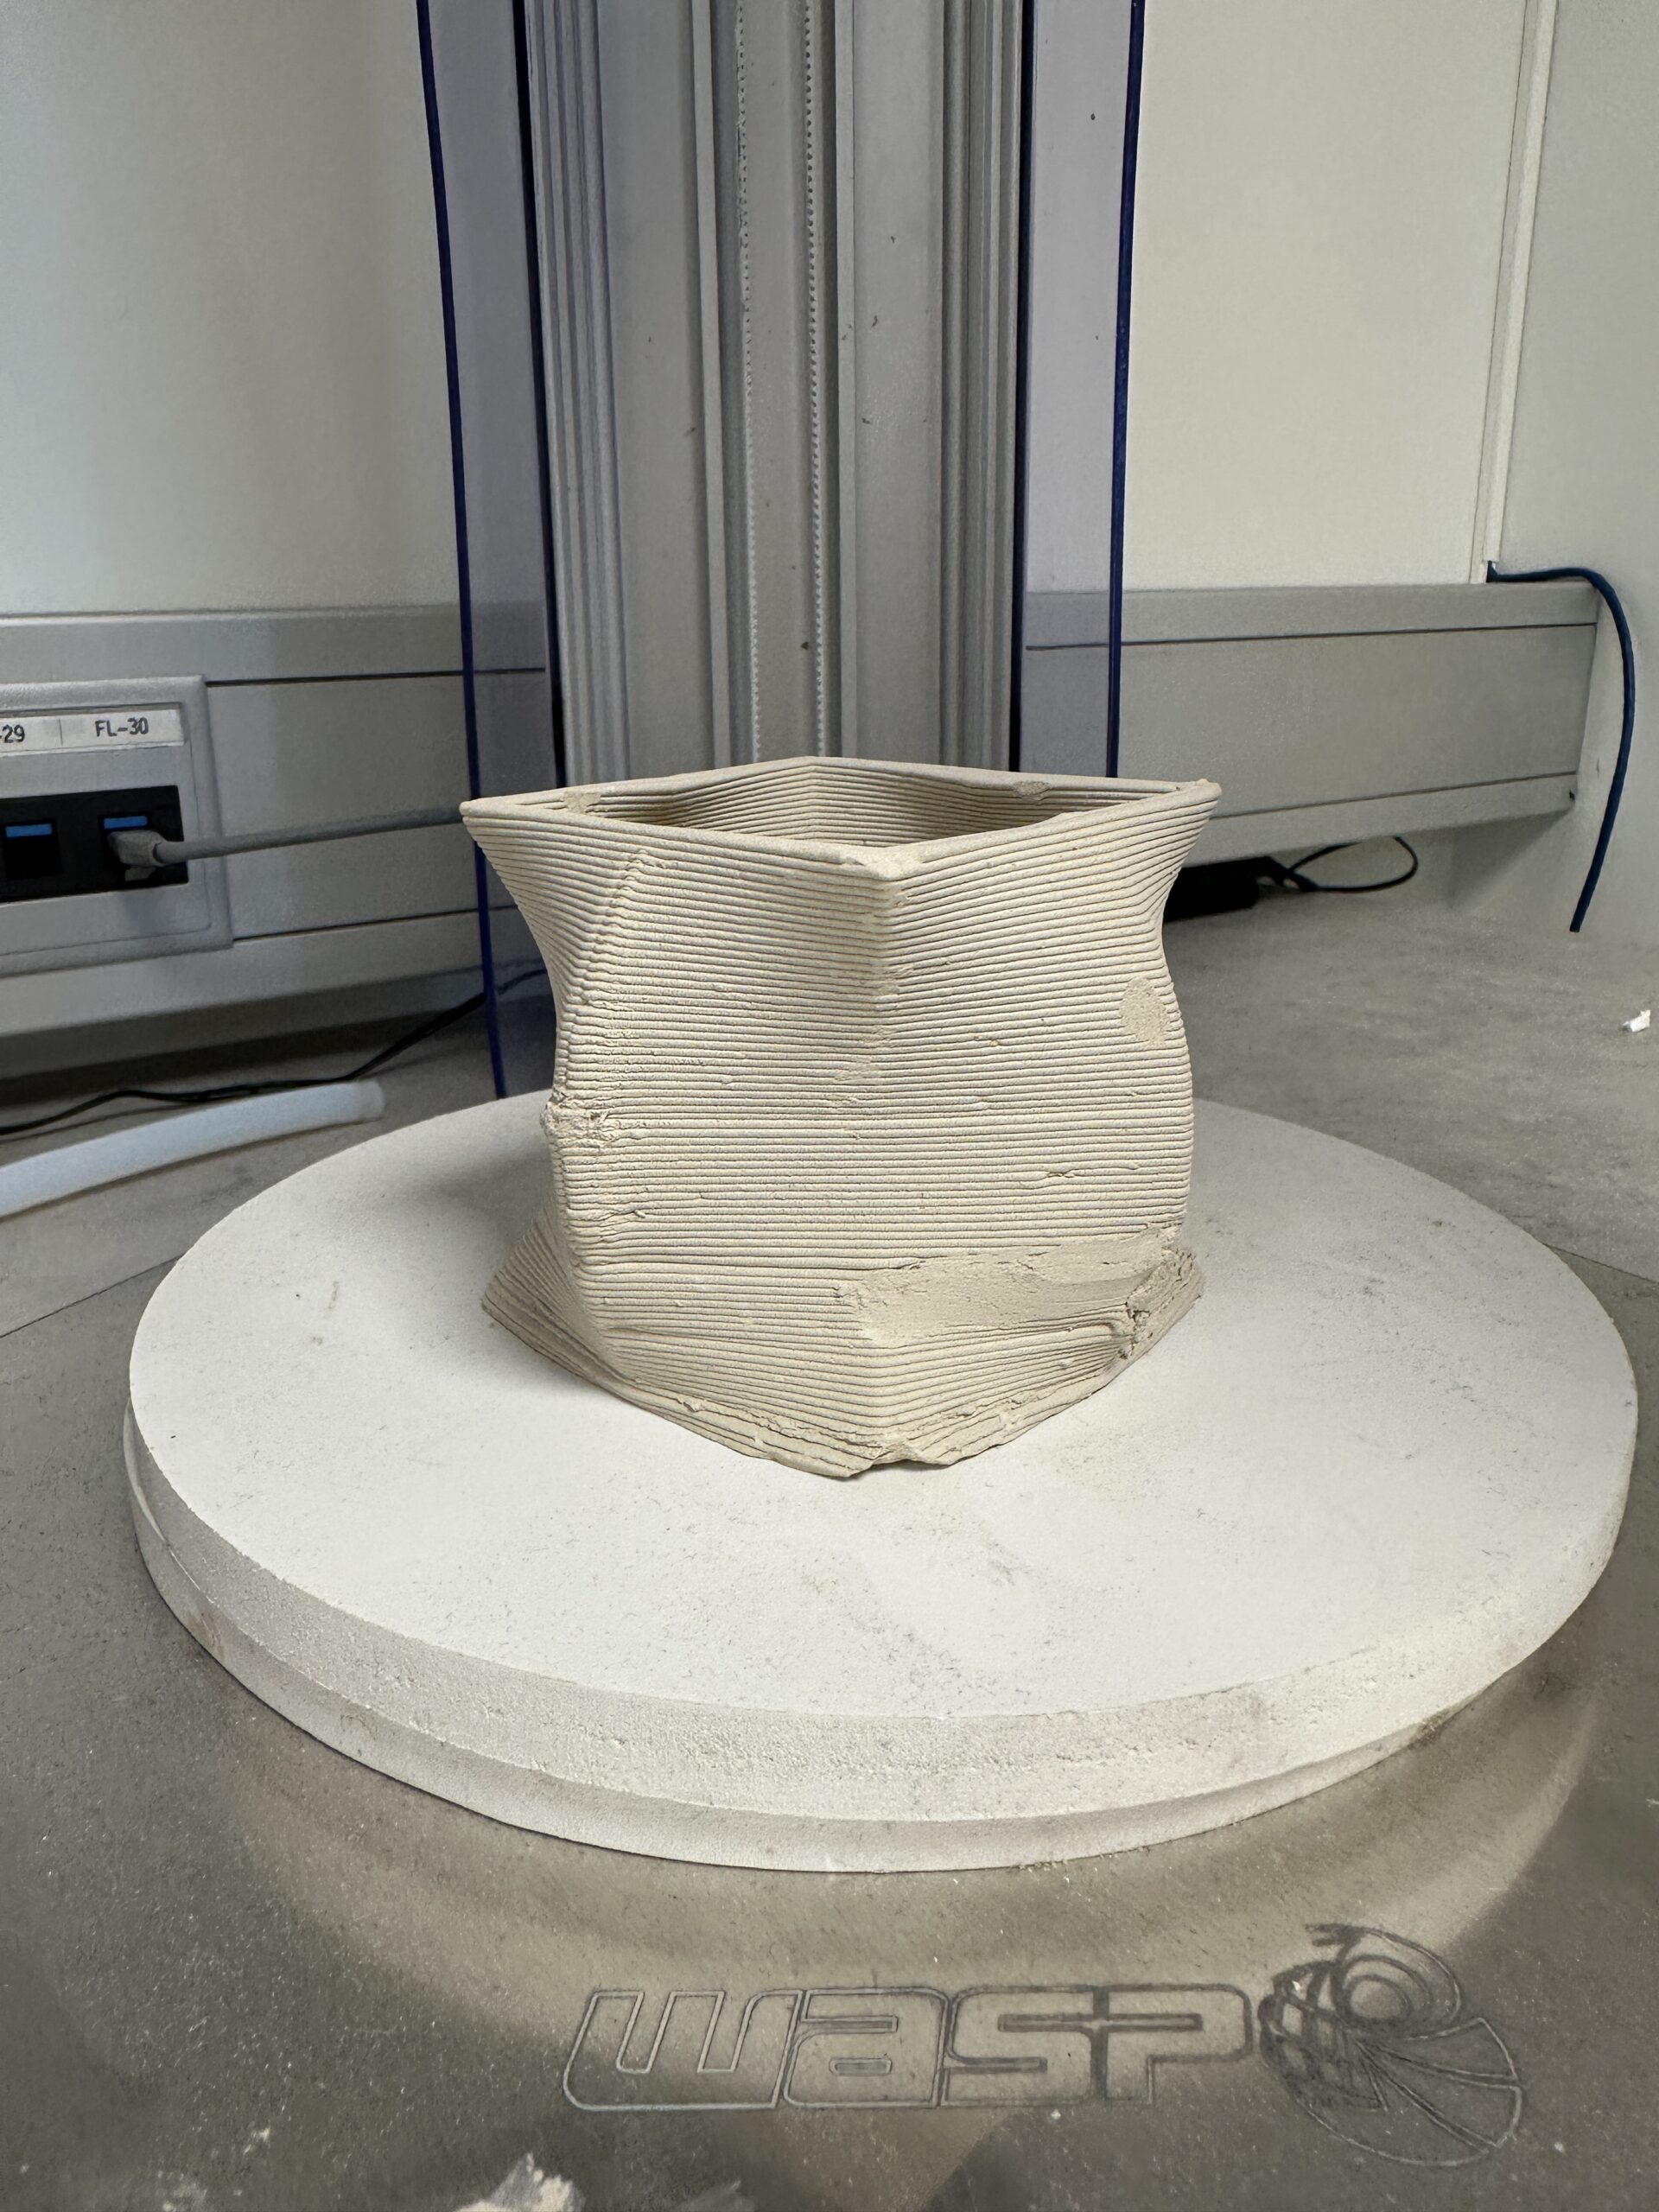
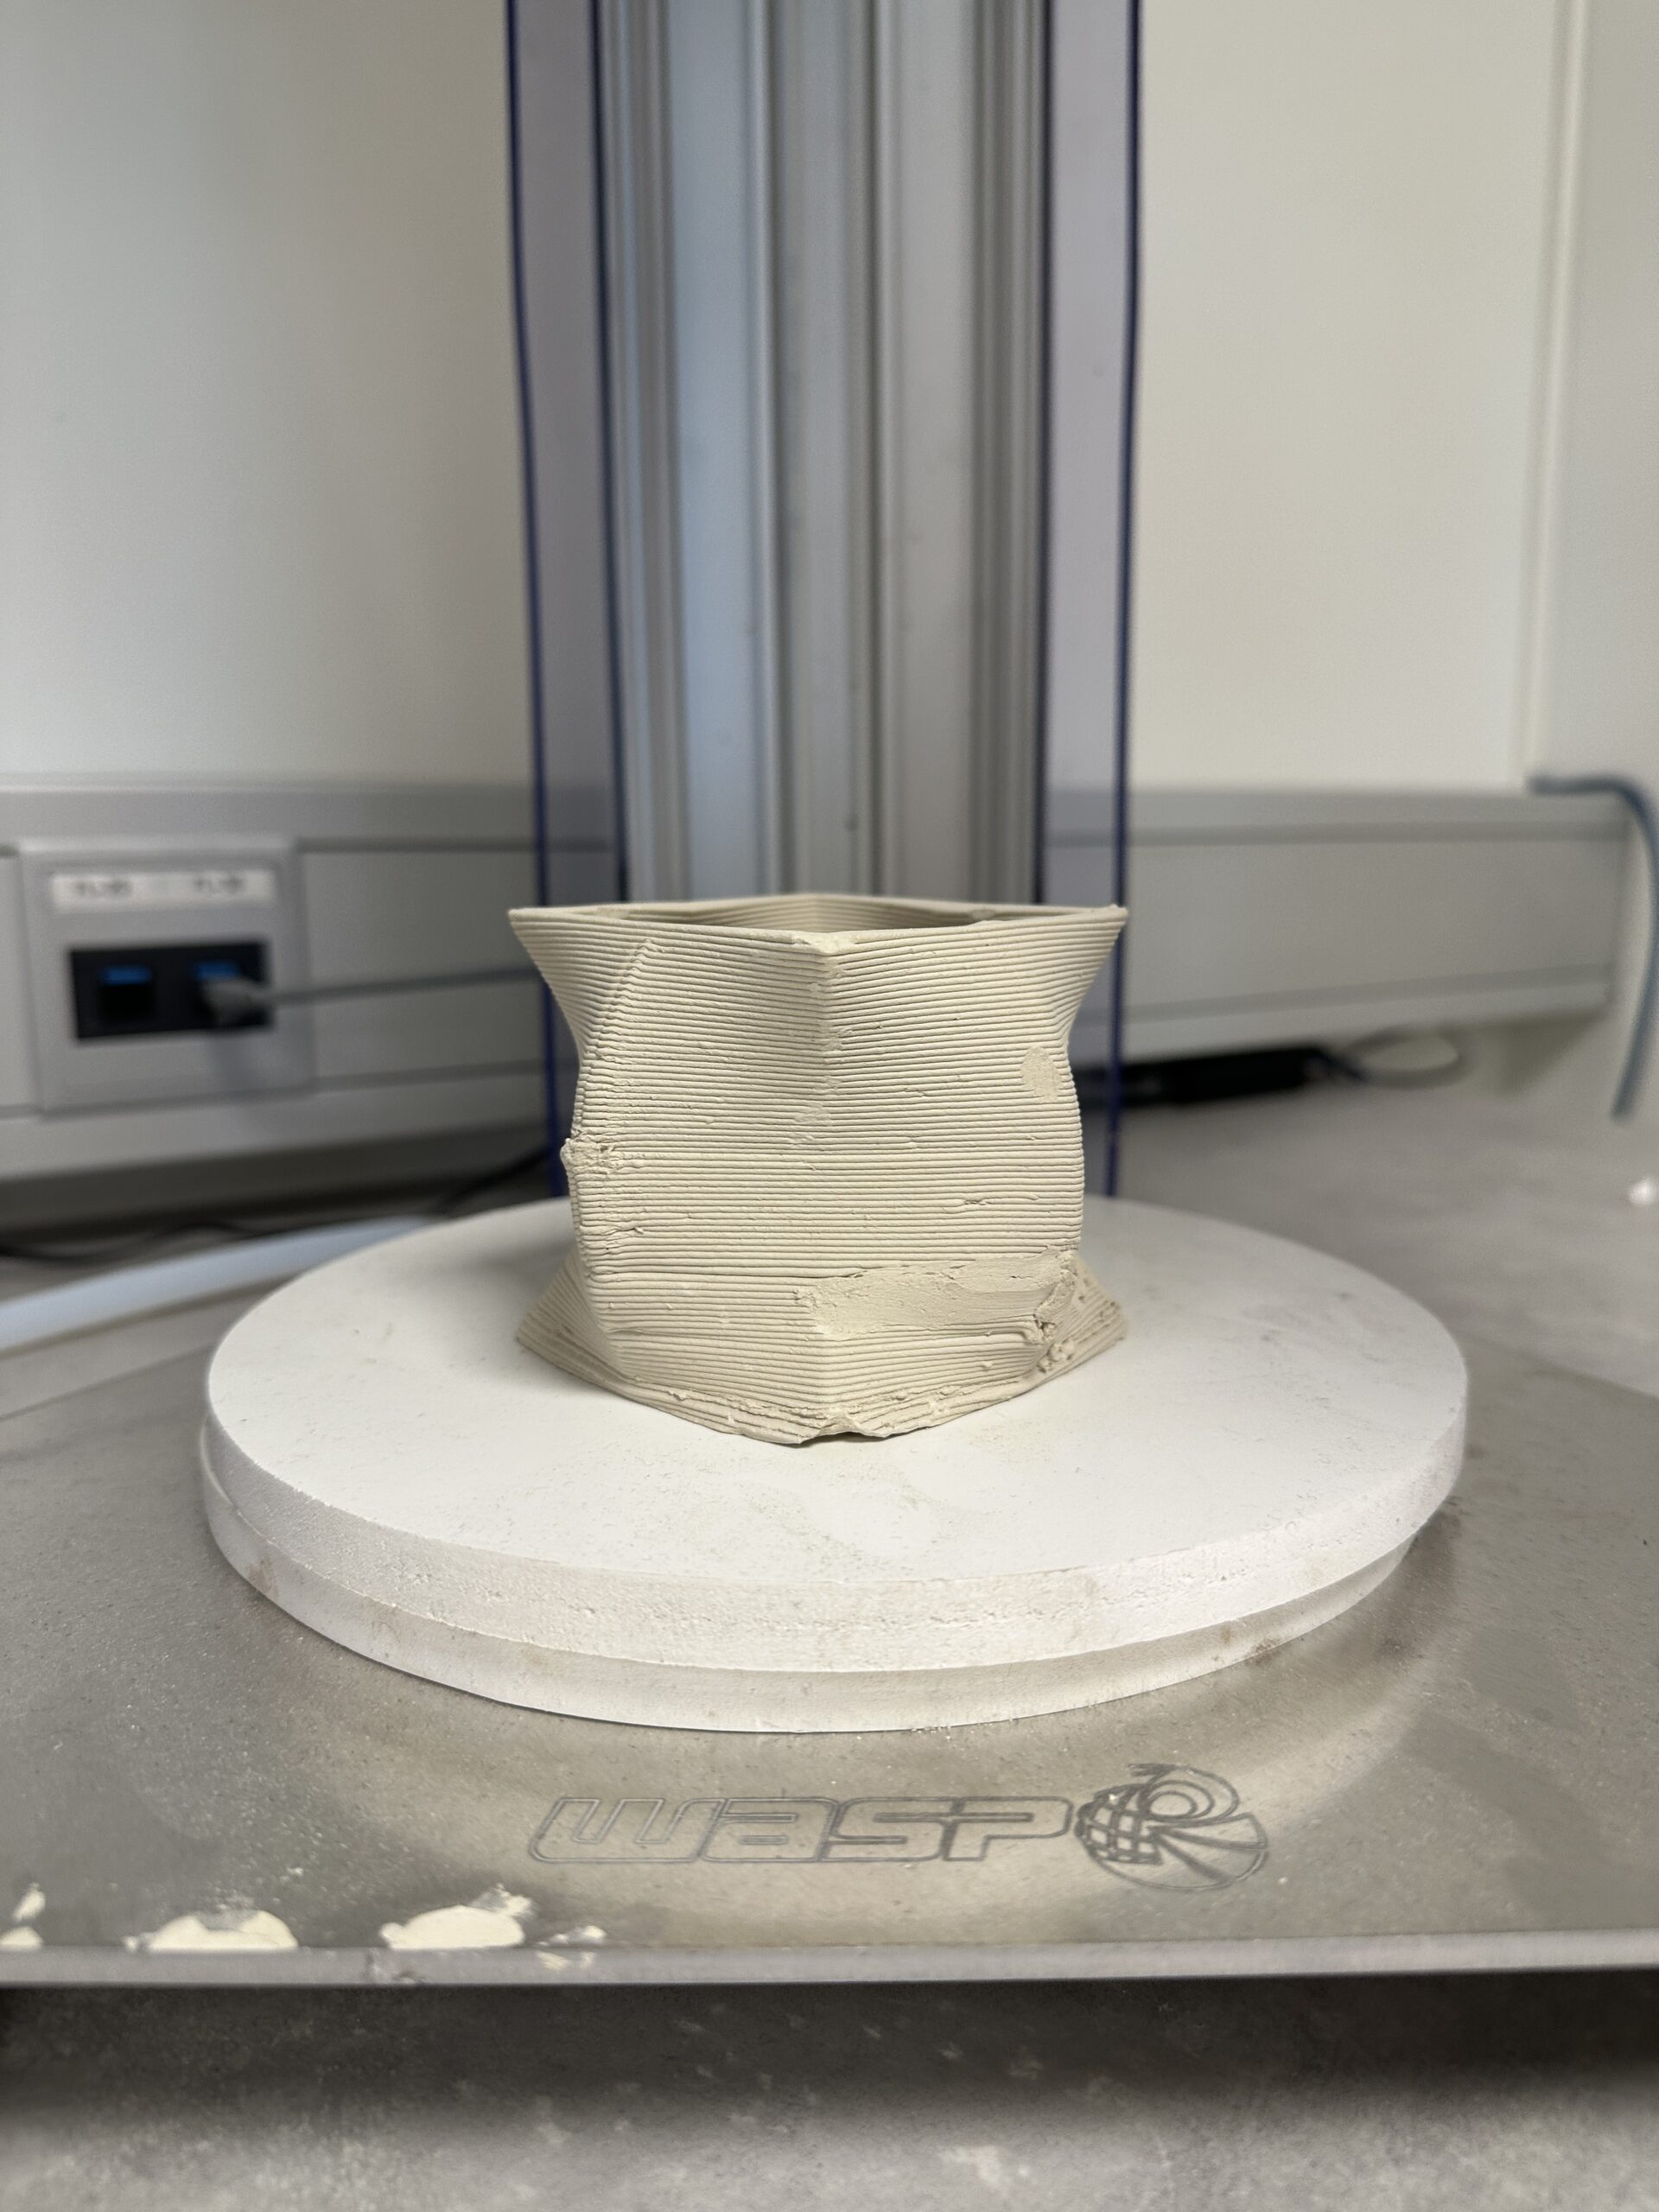
- Design Quality: Evaluation of the vase design based on creativity, functionality, and adherence to design principles.
- Printing Success: Successful completion of the 3D printing process with a functional vase.
- Post-Processing: Ability to effectively post-process and finish the printed vase.
- Extension Activities
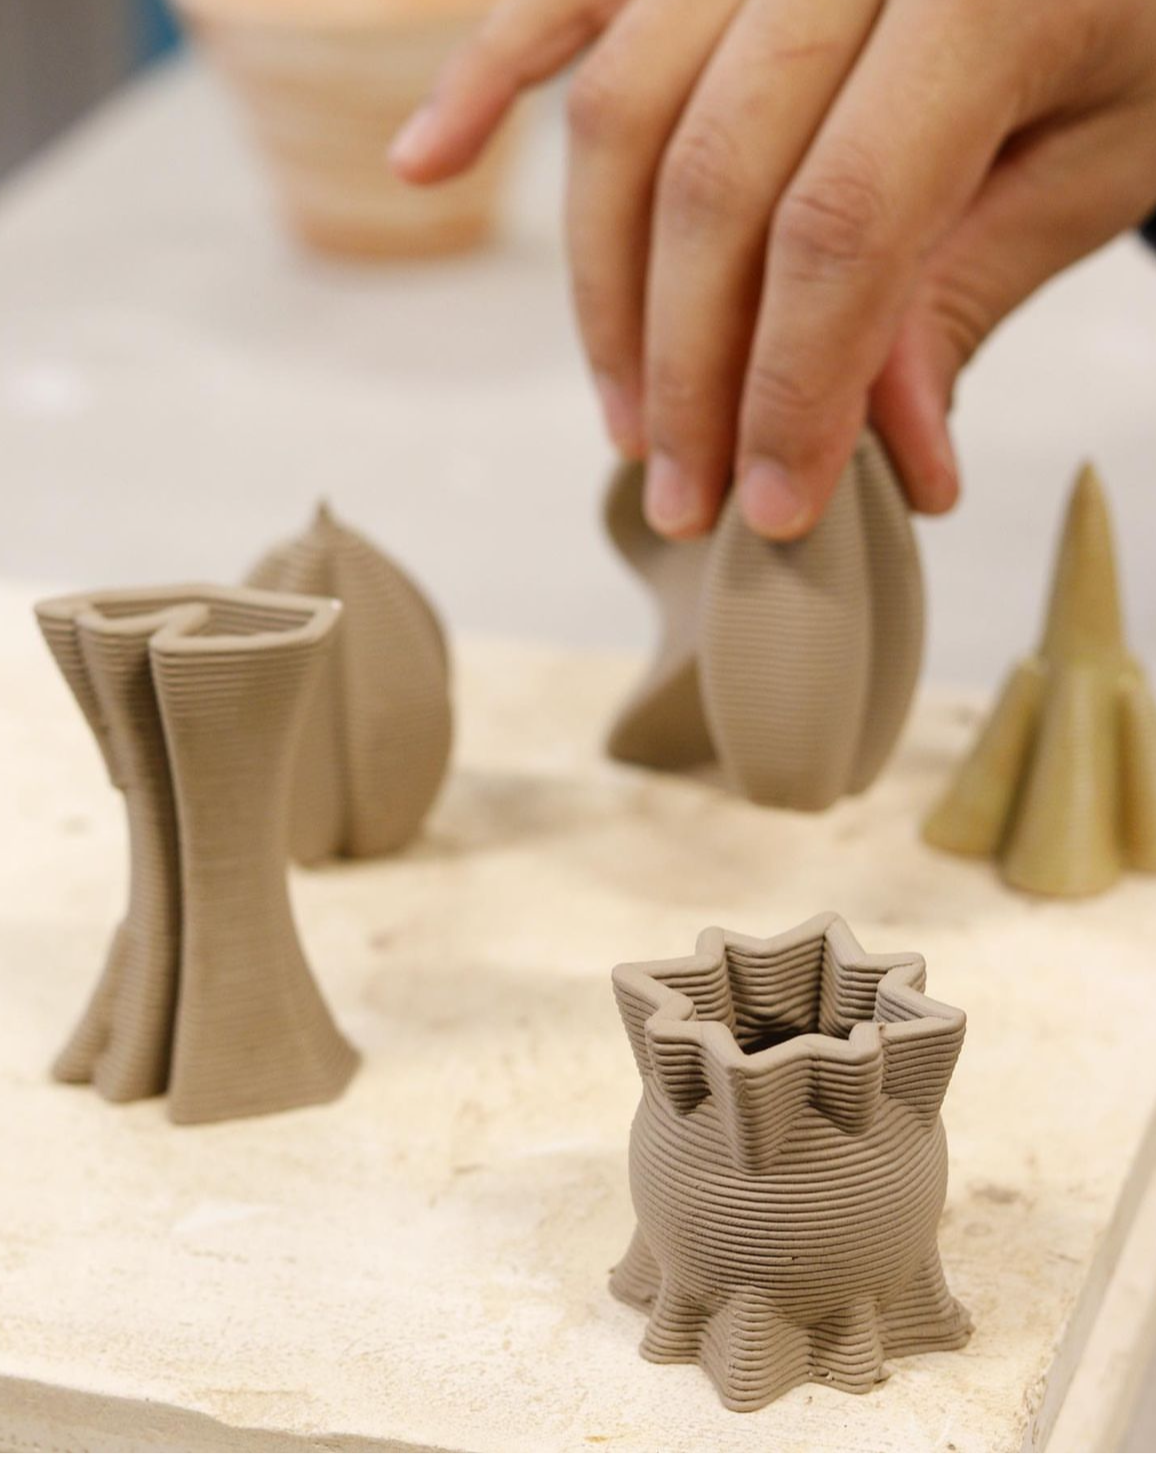
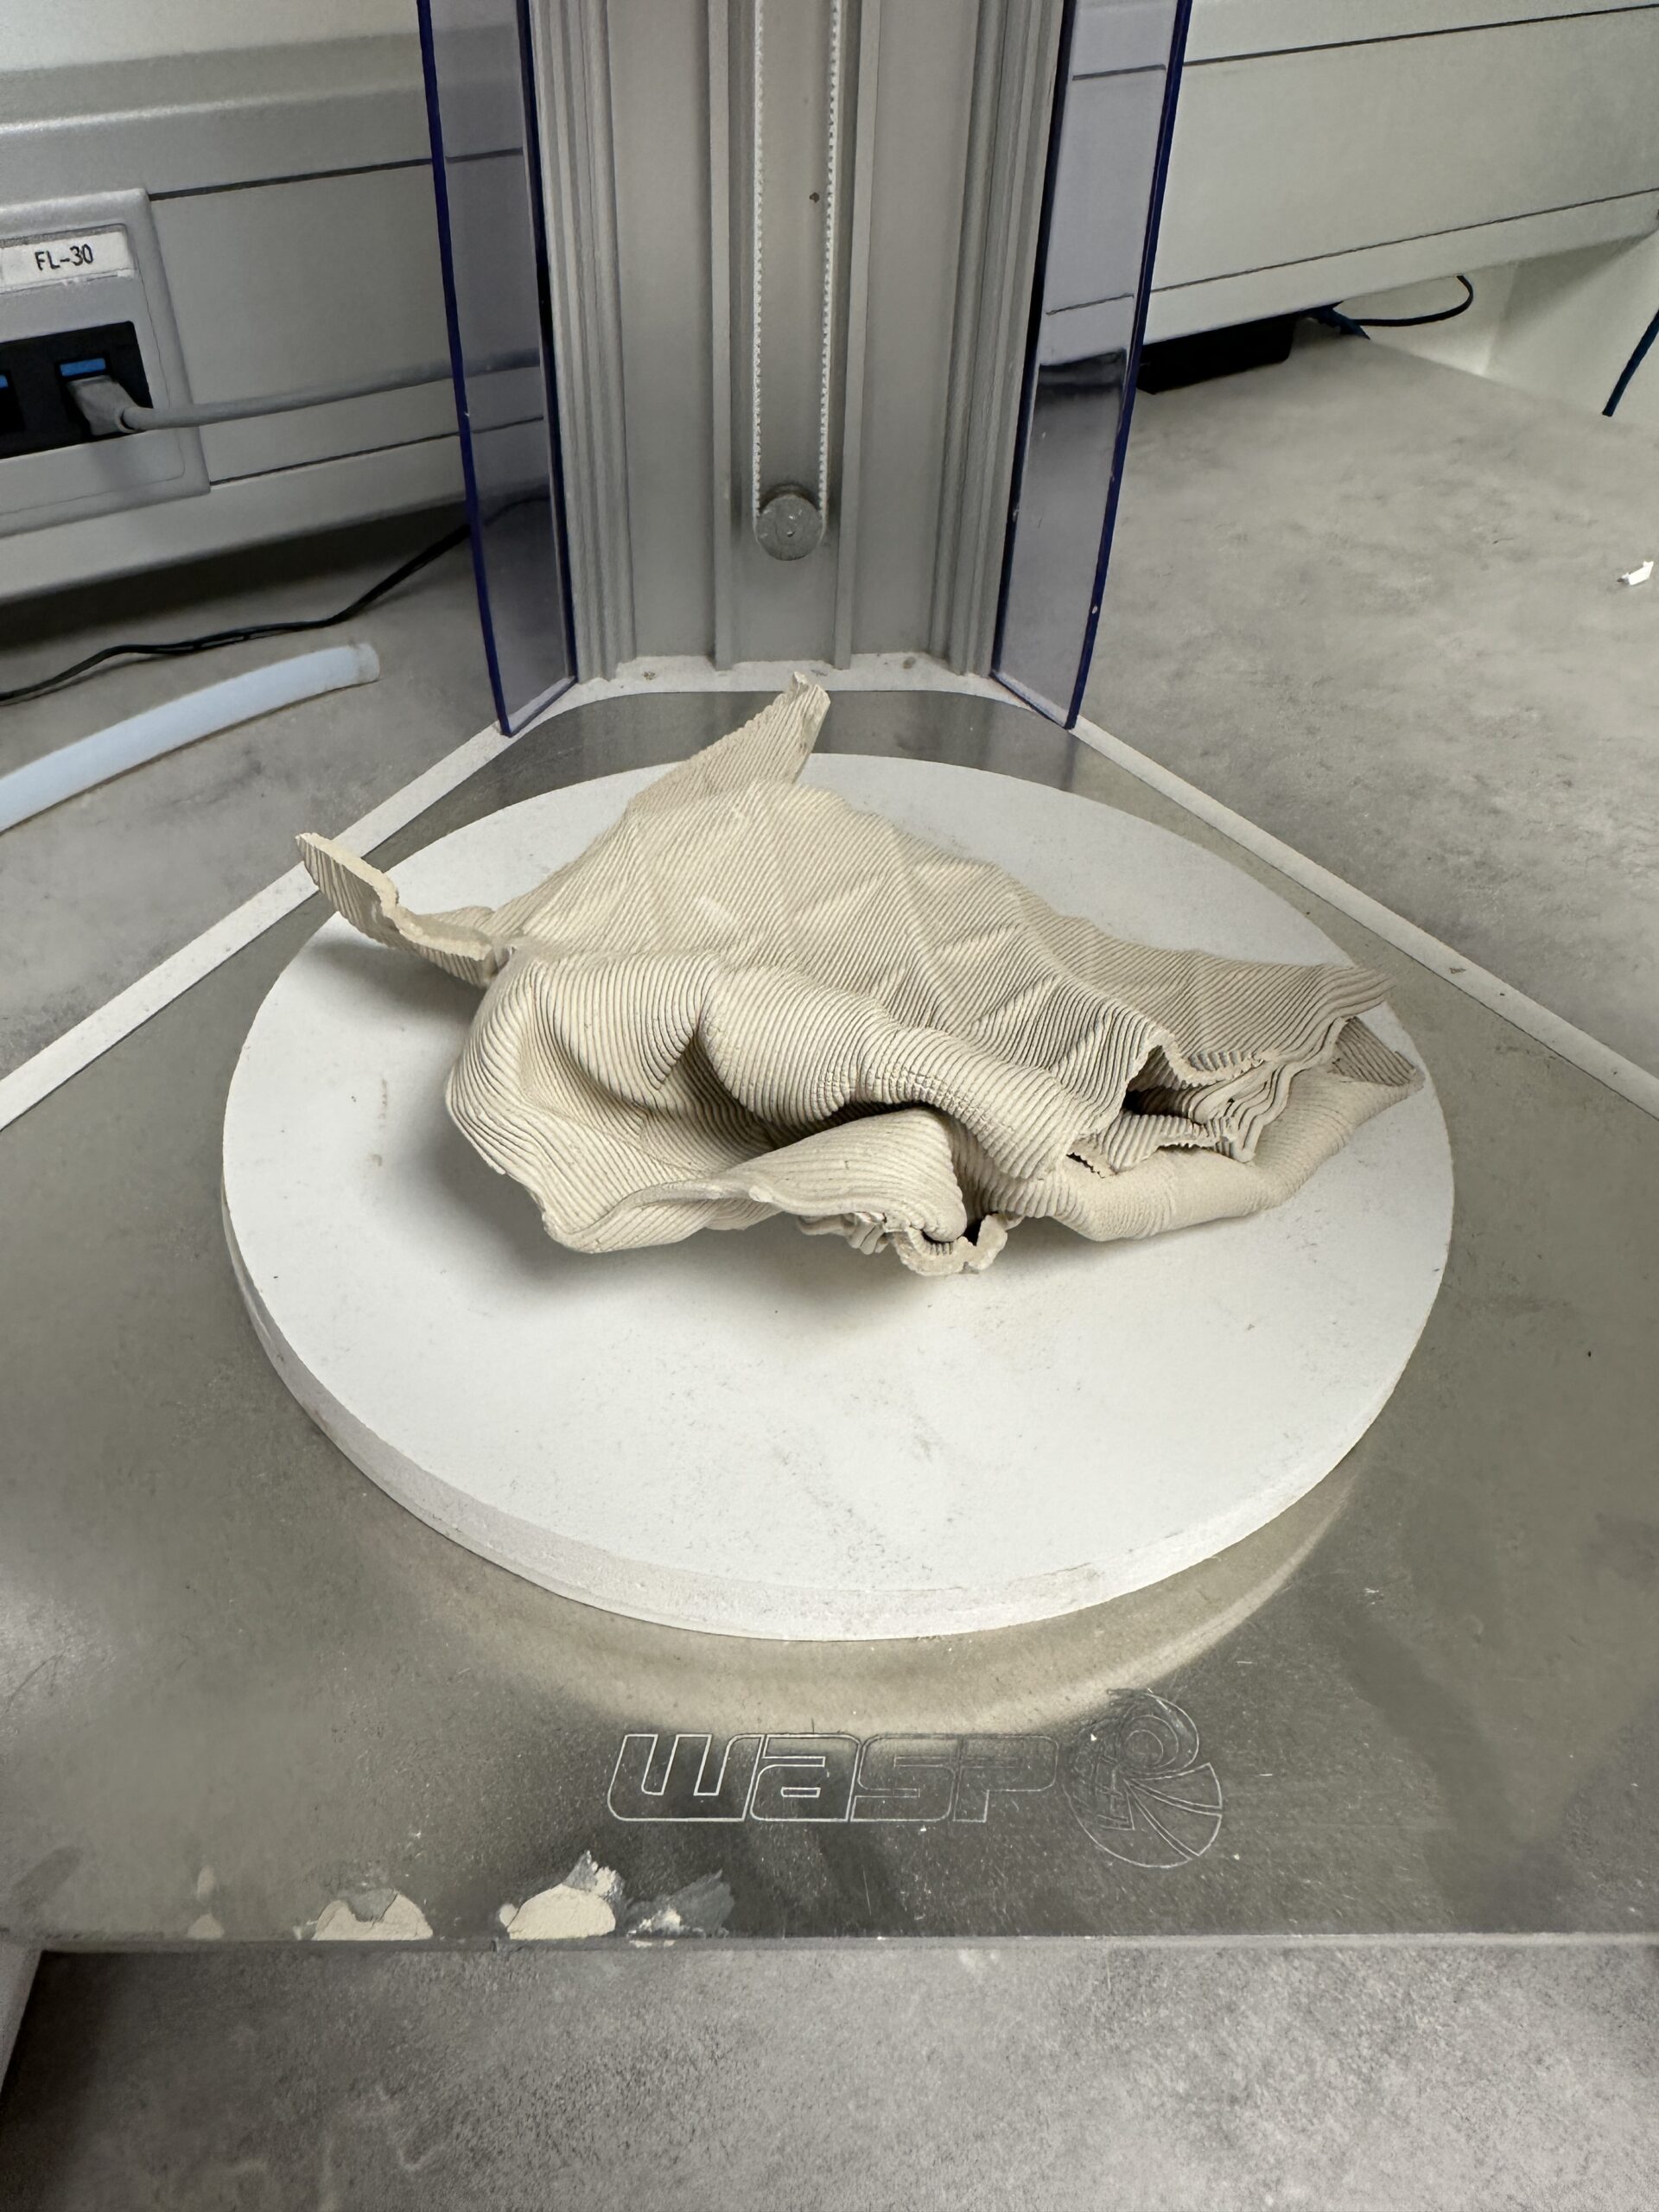
When the students have made there first test. It would be interesting to present them with other forms to print out and explore the challenges that occur with more complicated designs. Giving the learner opportunity to” destroy” or go beyond the support capacities to learn more about the natural elements and how they play with a very structured 3D environment.
- Additional Resources
- Tutorial videos on 3D modeling and printing.
- Online forums and communities for 3D printing enthusiasts.
- Manufacturer’s manual and guidelines for the specific 3D clay printer model.
- Designing a plate or cup for a Parkinson clients making them able to get better grip.
Downloadable files:
https://vormvrij.nl/lutum
https://www.prusa3d.com/en/page/prusaslicer_424/

