- Grade Level
- Middle school / junior high school (grades 5/6/7–8/9) from 11 to 15 years old. Group of 8 students.
- High School / College Level / Girls, Women 16 -30 Art, Design, Human tech. Group of 14 students.
- Duration
2 hours depending on the number of students and complexity of designs.
- Subjects
- Design
- Art
- Computer science
- Digital fabrication
- Learning Outcomes
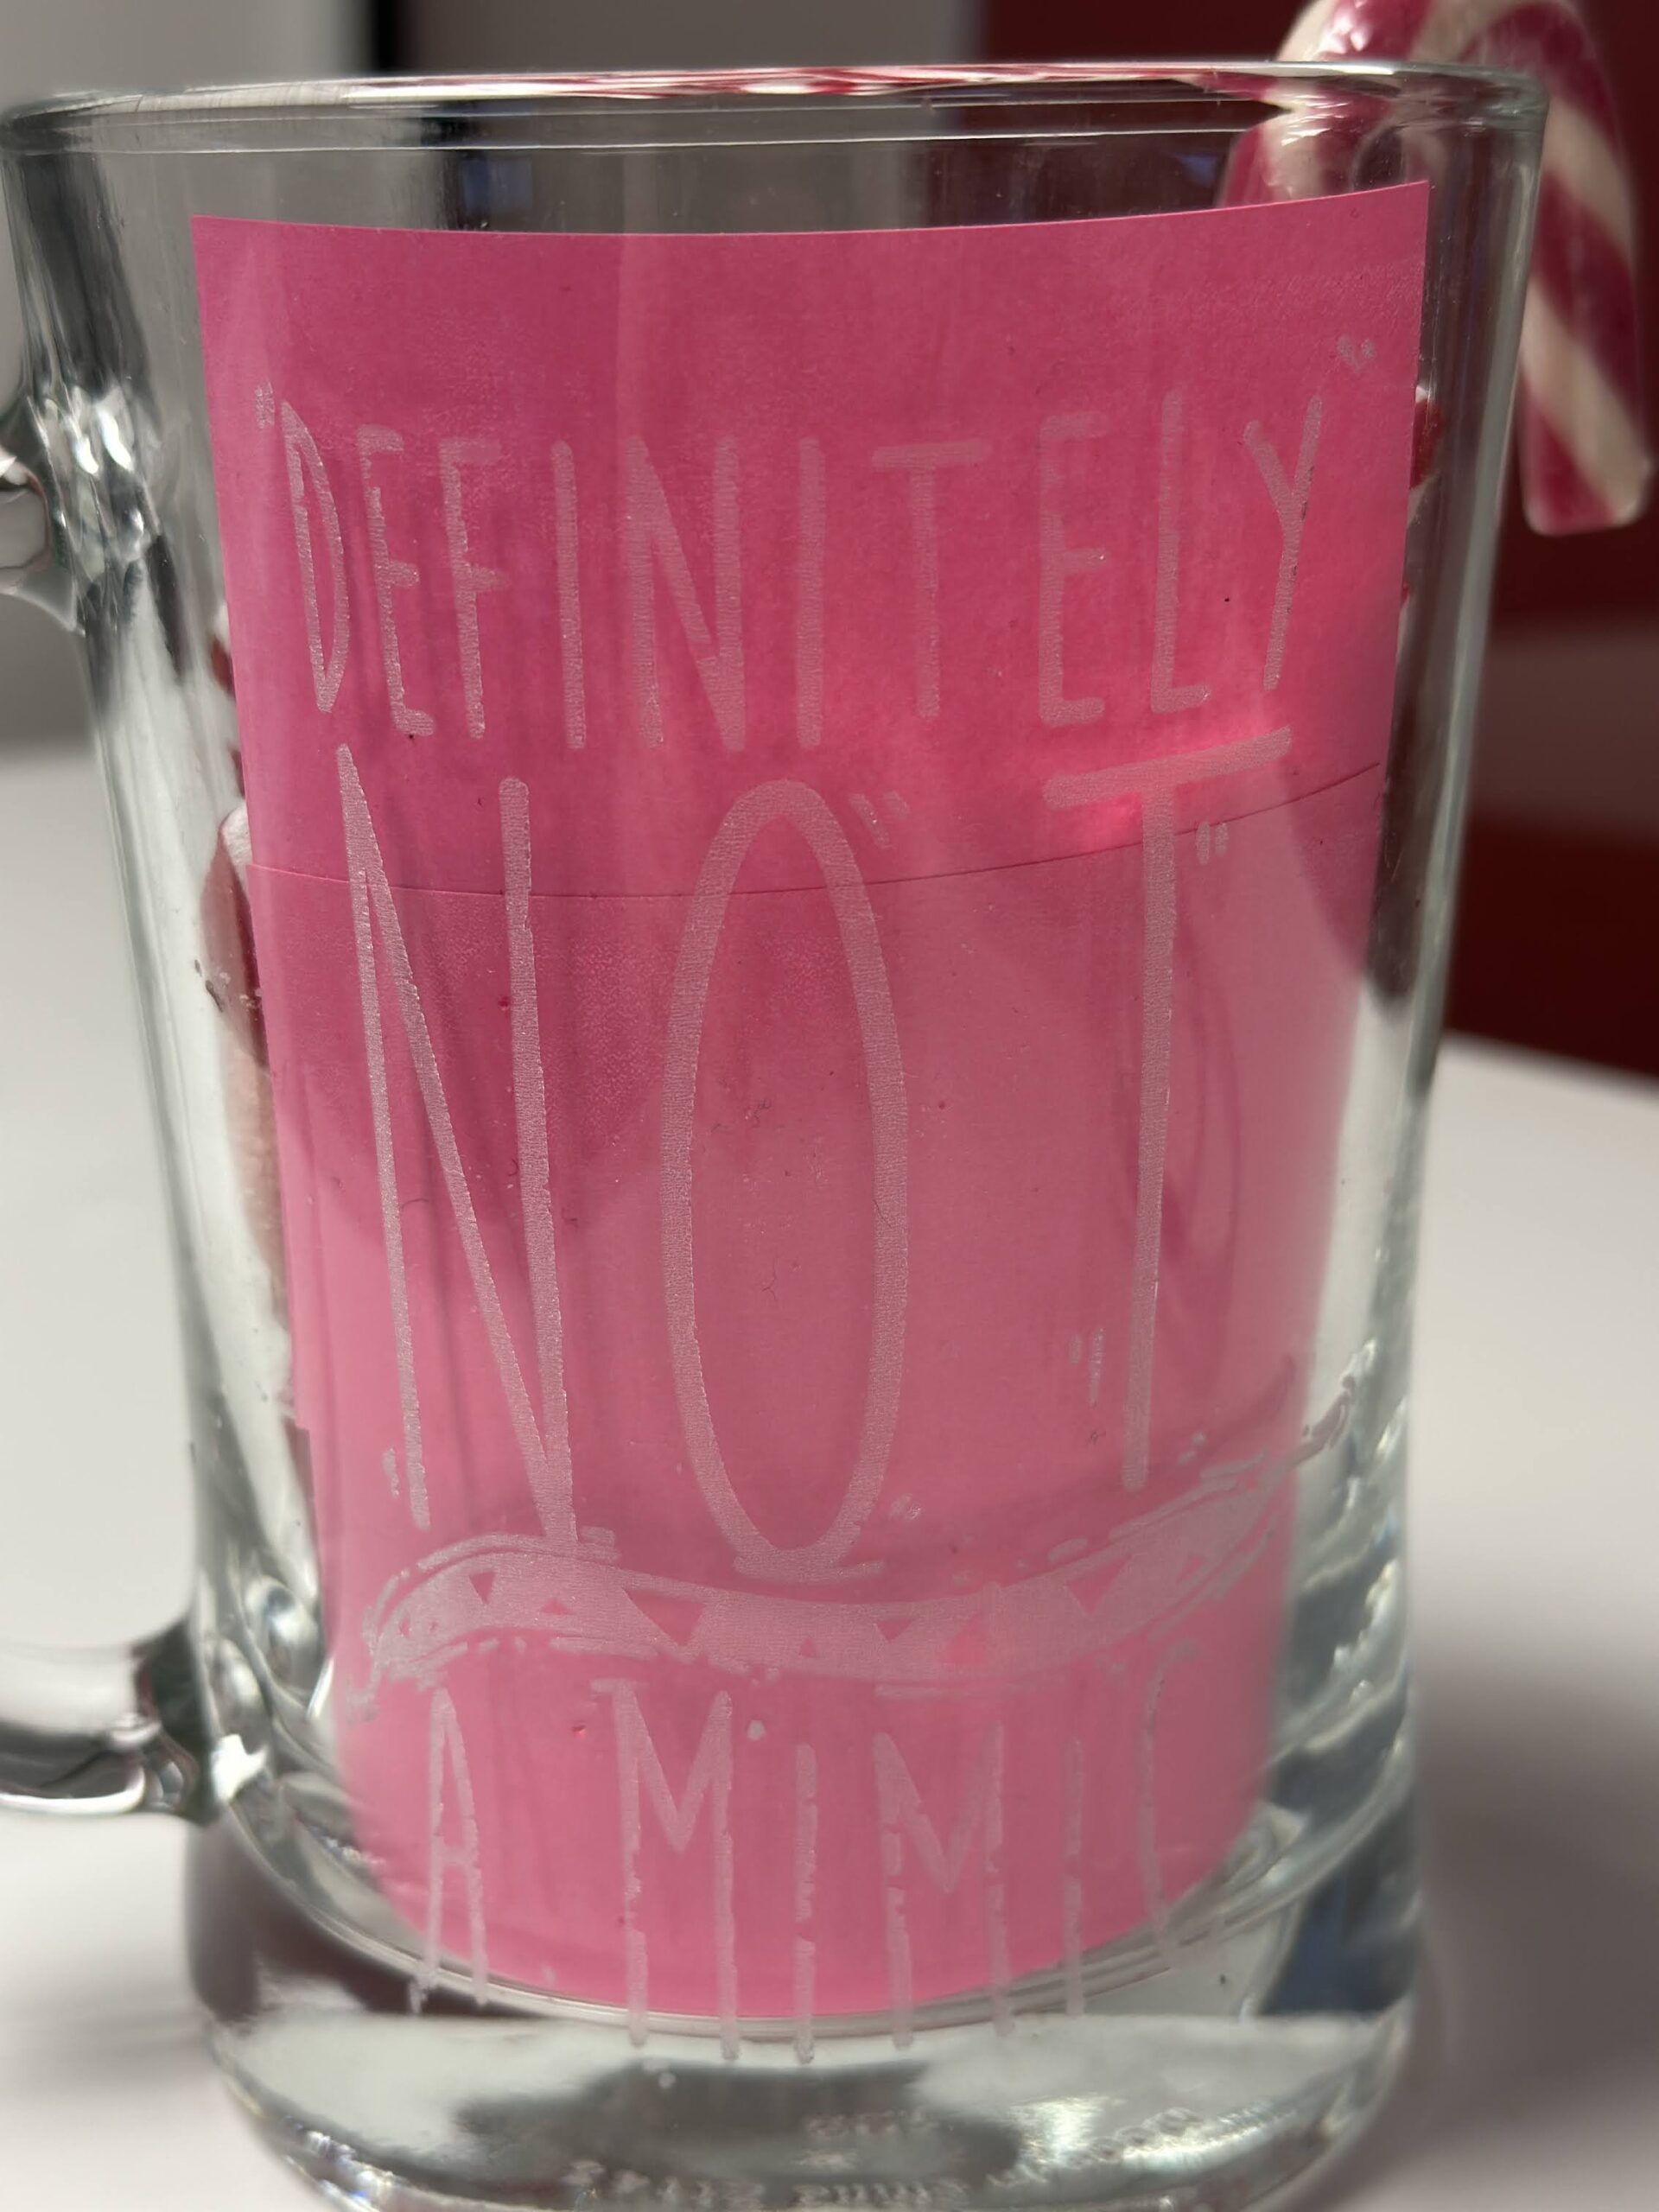
Students will learn how to create a design that can be laser cut on to a round object. Students will make an image in the computer and engraving an image or text into a glass object using a laser cutter.
Learning objectives: Learn how to make the image using image software and using a laser cutter. Medium level knowledge that can later on be transferred into bigger ideas.
- B&T dimensions and types covered
Dimensions
- Dimension 1: self-confidence in science and technology and Dimension 2: Confidence in technopolitical progress: By combining technical and art elements the students can build up confidence through small successes and then apply their skills to construct bigger items.
- Dimension 3: Interest in new technology: Students explore and engage with both technical and hands on activities depending on their creative proses.
- Dimension 7: Practical orientation: By learning this creative way the student can have the confidence of finding other practical ways to apply this technology and art expression to future projects.
Types
- Creative makers: Engage with the designing in a technical manner.
- Social implementer: Through small steps the student can experience a feeling of I can do this.
- Explorer: Can also feel a feeling of I can do it and make possible connections to other inventions.
- Teacher Prerequisite Knowledge
The teacher(s) for this lesson need laser cutting experience, including setting up the glass attachment. Optionally, it is best if they have the ability to use 2D design programs like Inkscape and (or) Illustrator.
- Materials
Materials Needed:
- Laser cutting machine, with a rotational option.
- Computer with software (for example Inkscape)
- Paper, if the students want to draw out their ideas before making the image in the computer.
- Rulers and markers
- Class object for example class, jar or similar simple rounded shapes.
Safety Precautions:
- Whan Laser cutting there must always someone stand by the machine whilst work is in progress.
- Take note that the object doesn’t have a reflective surface.
- Lesson Plan
Introduction (15 minutes)
- Welcome students and explain the objective of the lesson.
- Ask everyone to open up a computer
- Show examples to show what they will be aiming for in the end, but emphasizing it will be their idea they make in the end.
Step-by-step development
Designing (30 min.)
- Students open up the computers and either make their own text (here is a good time to talk about copyright material)
- Provide students with information on how to navigate inside the design program.
- Make sure they have the image and measurement correct
- Proceed to make a pdf document
- Move to Laser cutter
Engraving (45 minutes)
- Demonstrate the proper and safe use of the laser cutting machine.
- Place your glass item in the machine
- Use the laser cutting machine to engraving the designs
- Wrap-up & Reflection
Review and Showcase (15 minutes)
- Have students share their finished project with the group.
- Discuss the process and any challenges faced.
- Encourage students to think of other ways to use the laser machine.
Cleanup (10 minutes)
- Teach student how there can be small shards of glass as a residue from engraving. So it is important to clean well before use.
- Ensure all materials and tools are properly cleaned and stored.
- Make sure the workspace is tidy.
- Photo Gallery
- Extension Activities
Students can in continuation of this try more complex designs and laser cutting ideas.
- Additional Resources

